I’ve been working or reworking the pattern for my “Lost My Marble Sweater.” After the oversized tent I knitted a month or so ago. I went back to the drawing board and realized that my gauge was off. After checking out Amy Herzog’s Custom Fit Site I realized why my gauge was off and went back and rewrote my pattern using a different gauge technique.

First I have to say I was a “good little knitter” usually knitting a swatch for every project (with the exception of scarves and washcloths). Using the old technique you would measure how many stitches fit into a 2 or 4 in area working with both the stitches and the rows using a ruler or one the lovely implements for swatching shown below. You would often end up with half and quarter stitches using this technique which makes it difficult to figure out.
With the new technique you are working with increments of inches which makes more sense. It is definitely easier to work with a quarter inch than a quarter stitch.
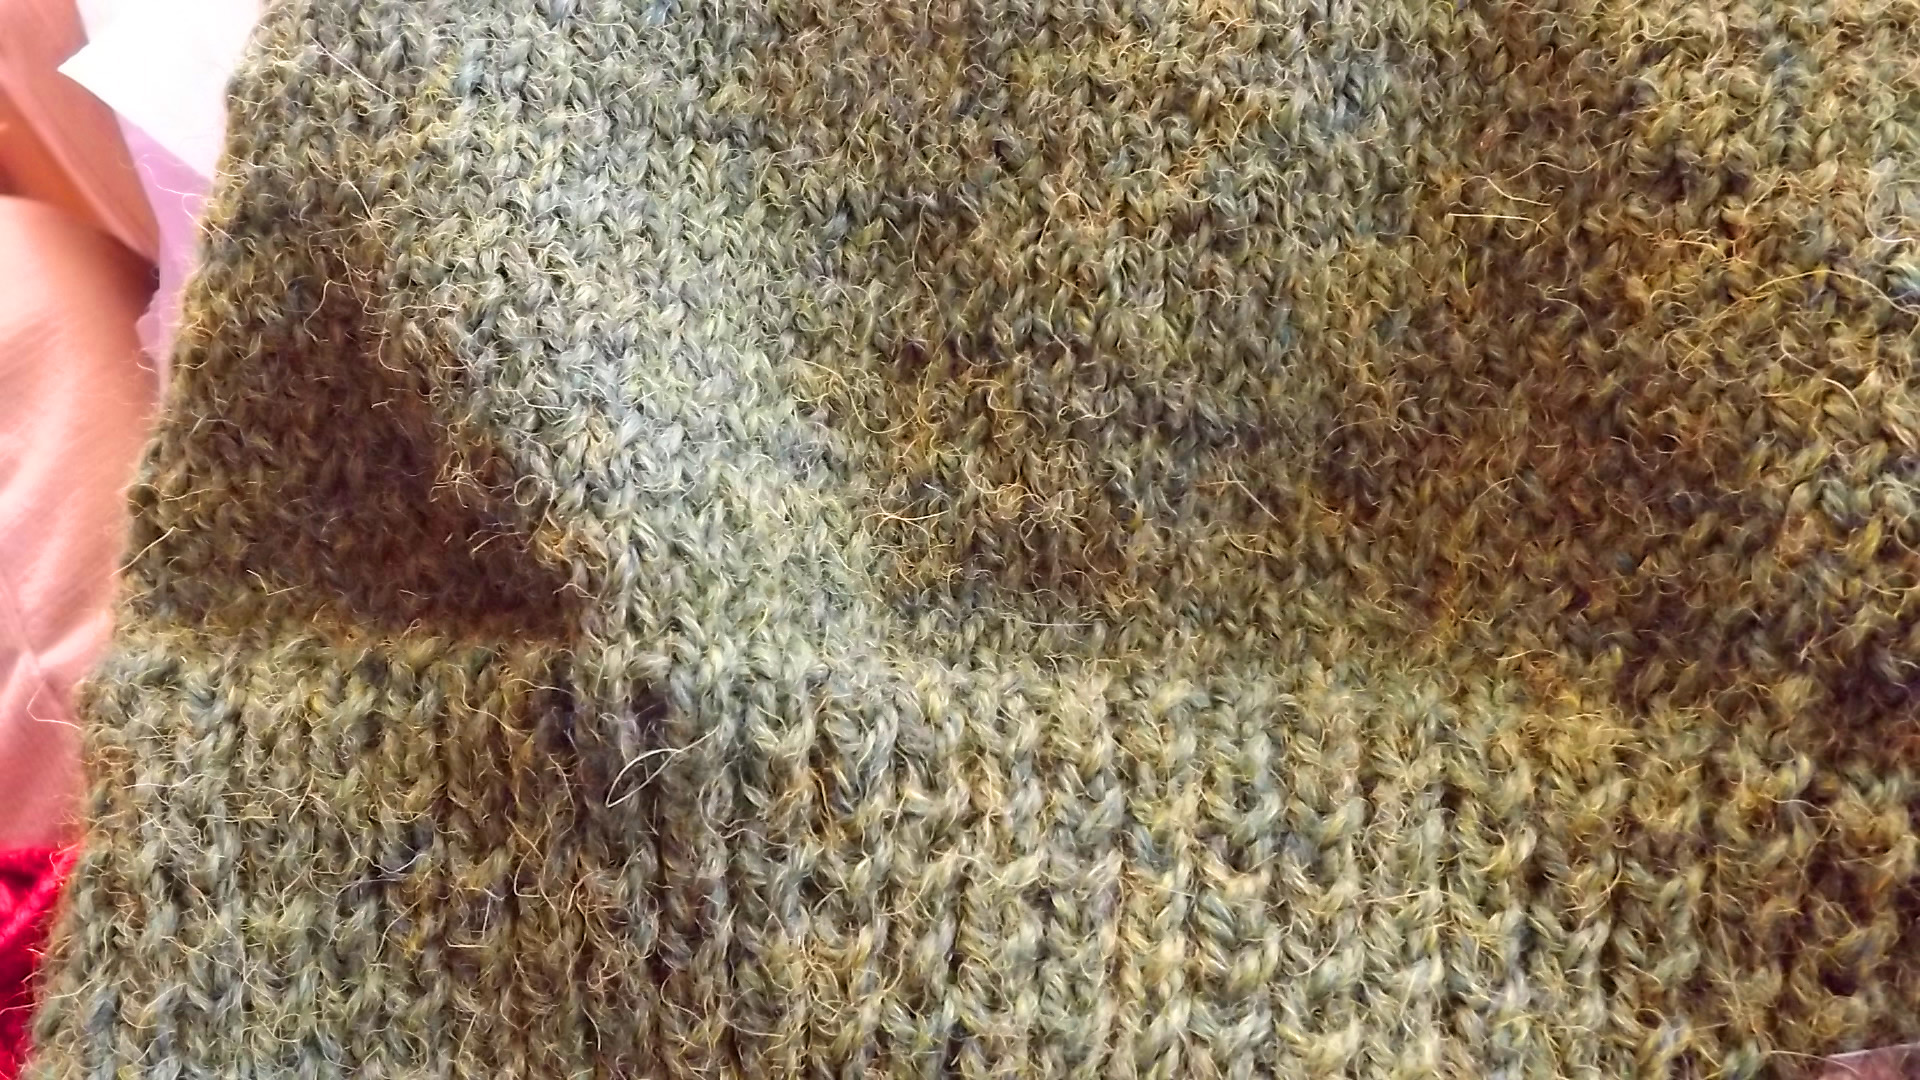
New gauge technique: knit a large swatch at least 6 inches wide and tall. If you are swatching in stockinette stitch use garter stitch edgings to keep the swatch from curling. Then wash and treat your swatch the way you would a the finished object.
After you have your lovely washed swatch square take some contrasting yarn and darning needle and sew a square inside of your garter stitch. Then take your ruler and measure the length and height of your square. Jot down those numbers. Now count how many stitches across and rows high are in your square. Jot these numbers down as well.
Next we are going to do a bit of math. So I will show an example:
My sewn square is 5 inches across and 5 inches high.
I counted 26 stitches across and 28 rows high.
You take the amount of stitches/rows and divide by inches.
So for stitch gauge 26/5 = 5.2 per inch but we want to make it for 4 inches to produce a proper gauge table… so 5.2* 4= 20.8
Then for our row gauge we will do the same thing. 28/5= 5.6 then 5.6*4= 22.4
You will want to leave the decimals in the gauge ( no rounding here). The reason for this is that when making a large project like a sweater it can make inches of difference in the finished object.
I’ll give an example of this too…… Say I rounded the stitches per inch down to 5
I’m making a sweater with a 43 inch bust so to figure out how many stitches I would need at that point I just multiply 5 and 43…….. = 215 sts
Now I will do the math properly 5.2*43 = 223.6 Now that you have the entire circumference you can round to 224 ( I always round up numbers 5 and higher ). The difference is 9 stitches which is almost 2 inches in the circumference of the sweater. When it comes to fitting properly this can make a difference.
Now I used the same swatch I originally made for this pattern because I loved the fabric my chosen needle size created. However there was a huge difference in the amount of cast on stitches going from my original cast on of 262 for front and back ….. to 206 stitches total for the front and back cast on.
Original Sweater issues: My gauge was way off making it wayyyyy….to big. The other thing I noticed was when I stopped knitting in the round and had to knit back and forth for the armholes and the neckline there was another difference in gauge and texture…..
It was almost like the bottom of the sweater was smooth and even and the top started texture right at the girls ….and was screaming loook here!!!!!! I decided to knit the modified sweater in parts ….makes for easier travel knitting anyway.
I think this is going to turn out much better.
[madmimi id=3]


Tags: knitting, knitting blog, knitting patterns, knitting projects, knitting yarn
