Deyaneria on November 5th, 2015

Some face complexions for a more beautiful Inquisitor

changes made

Dey’s Qfem Face

ScreenshotWin32_0017_Final ScreenshotWin32_0013_Final

Dey’s Face Drop Box Link

ScreenshotWin32_0215_Final ScreenshotWin32_0214_Final ScreenshotWin32_0213_Final ScreenshotWin32_0212_Final

Dey’s face 3 Drop Box Link

Female complexions available on nexus for now but i will be adding it to my dropbox as well.


compslider9 ScreenshotWin32_0201_Final ScreenshotWin32_0211_Final ScreenshotWin32_0095_Final ScreenshotWin32_0114_Final

Male faces available on nexus as well dropbox links to be added as soon.


Tags:

Deyaneria on November 4th, 2015

I have been busy since the last post about how to modify a diffuse.  I made some pajamas for elven females.

ScreenshotWin32_0376_Final

I even went to the trouble to make complexions for each complexion tint slider. It will be availabe on Nexus as soon as I get the files saved and uploaded.

YouTube Preview Image

Tags:

Deyaneria on September 12th, 2015

Tutorial for total newbies on modding diffuse file facial textures in Photoshop cc 2014. You will need to add the Nvidia  plugin.  This tutorial will also work for photoshop elements 11.

First download and become familiar with the DAITools suite. Just a quick note about DAITools there seems to be an issue with the latest version and modding face complexions. When properly done and merged it seems to cause an infinite loading screen. My suggestion would be to go to the DaiTools forums and pick up an earlier version. http://daitools.freeforums.org/latest-version-announcement-t1065.html

It’s the second one on the page version 16 it works just fine for making face complexions even with the new mod manager. As this tutorial was written when 17 was the one available in the suite it worked fine, but something got changed and the coders are working on it.

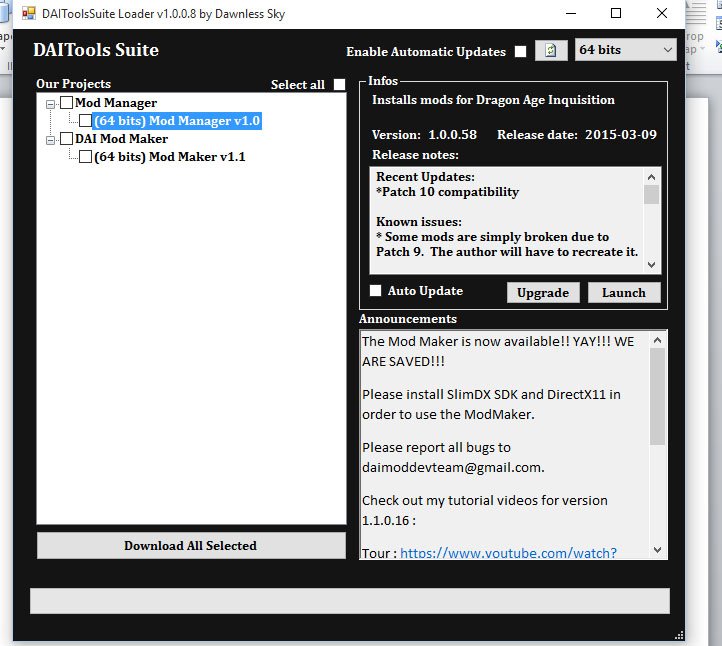
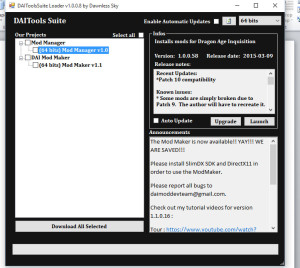
When you open the DAItools Suite it will look like this:

Untitled-1

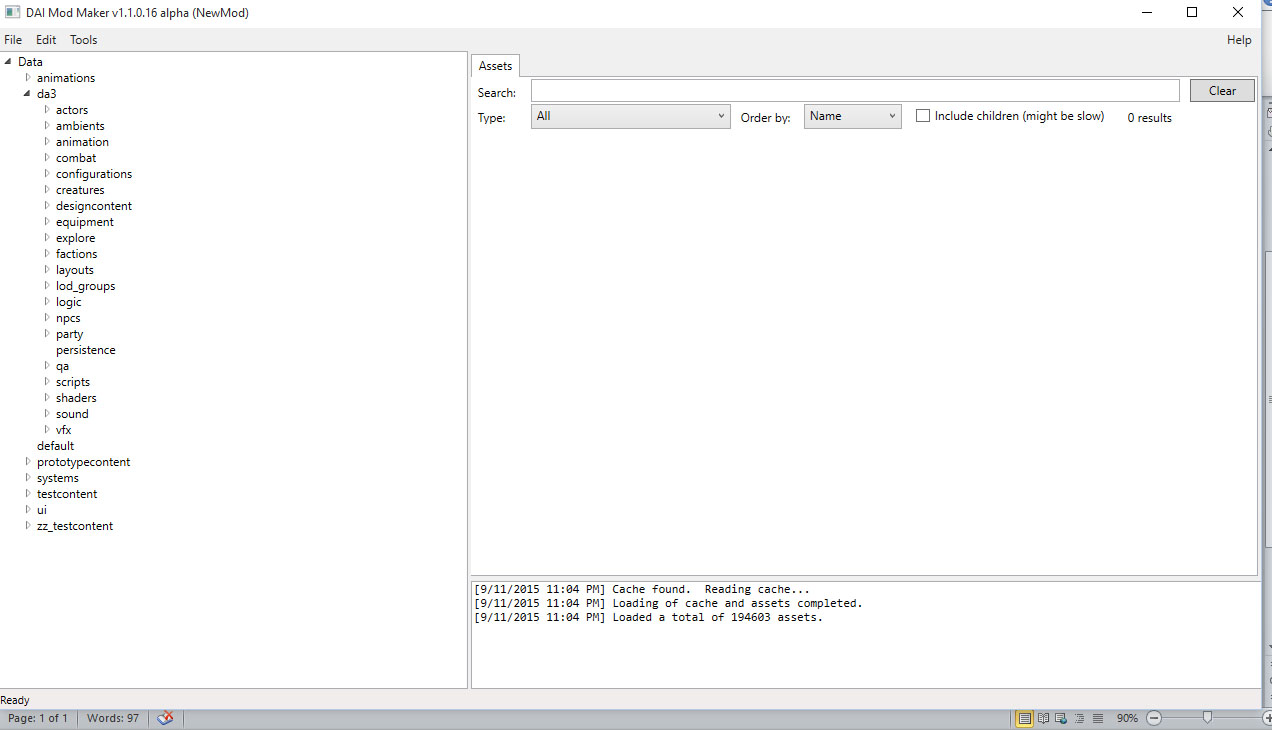
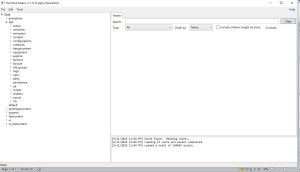
Click on the Mod Maker to select it and click launch. Then a screen will pop up. If it’s your first time loading the mod maker it will ask for the path to your  DragonAgeInquisition.exe. This file is usually located in your games directory usually  C:\Program Files (x86)\Origin Games\Dragon Age Inquisition . Allow the program to create a cache and load everything this can take a while. Knit a sweater or read the rest of this tutorial while you wait. Once it’s done your screen will look something like this:

Untitled-2

Next we need to extract the textures you want to change. For purposes of this tutorial I’m only going to be working with the diffuse texture of the human female Inquisitor’s face. It’s the easiest to modify and is used for all female humans, dwarves and elves (they share textures). The texture we are extracting will modify slot one.

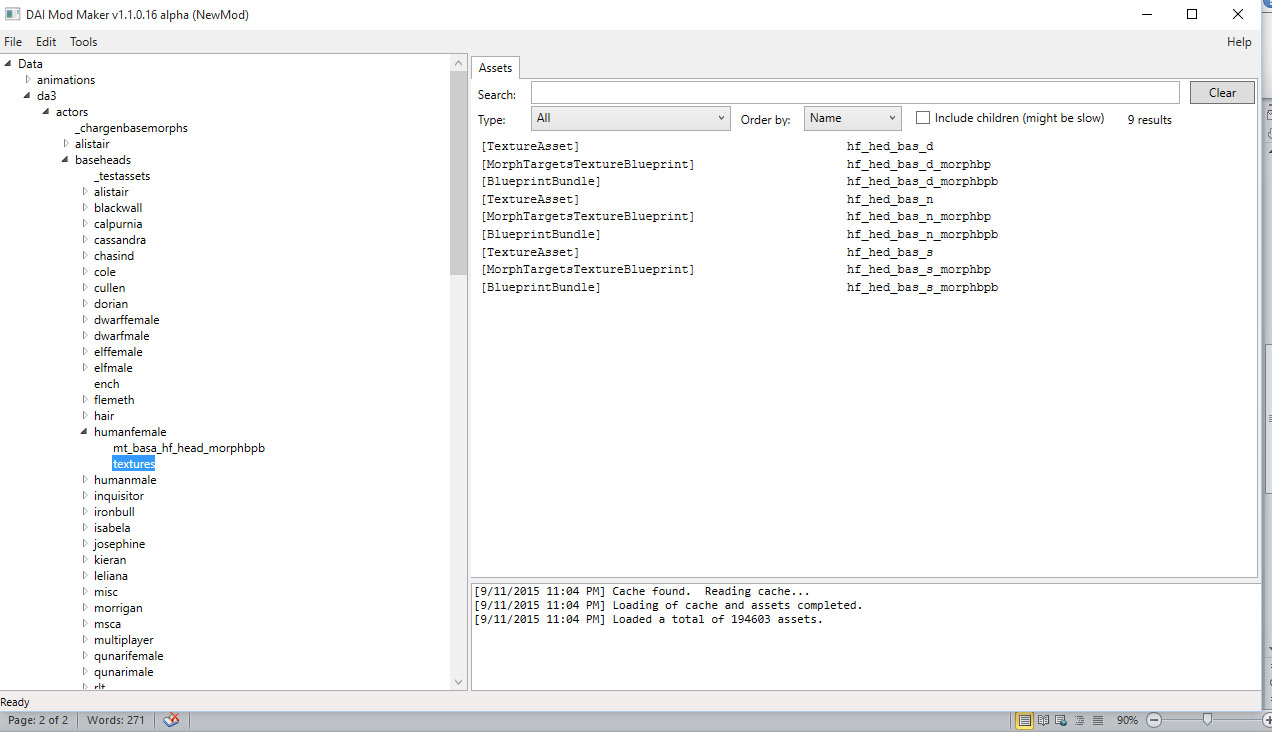
To find the texture you will need to click on triangle beside the word data, then click da3,click actors, baseheads, and finally human females. Under human females you will see two files click on the one that says textures. If you’ve clicked correctly you should see this:

Untitled-3


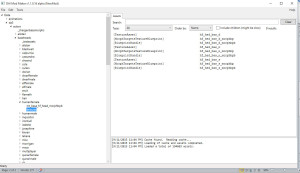
We want the file that says  hf_hed_bas_d.  Clicking on the file in the window will bring up another screen with more options.

Untitled-4


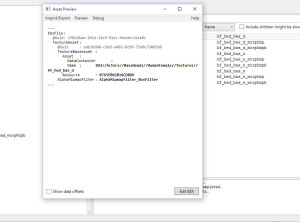
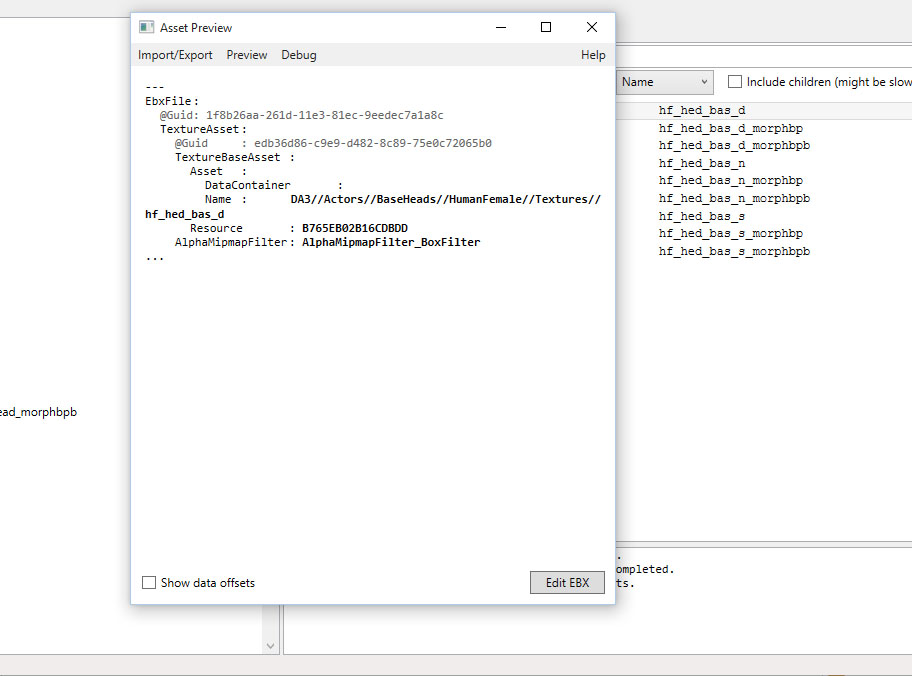
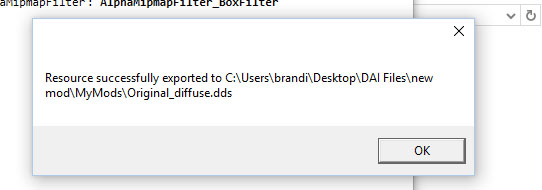
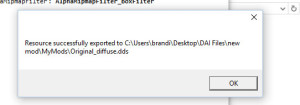
Next you will click on the import/export option. This will give you drop down that for import asset or export asset. Choose export  asset. You will need to decide where to put it and pick a name. I have a folder for each mod (even my unsuccessful tries). I usually label the file something like originaldiffuse. If exporting is successful you will get a popup like this:

Untitled-5


I always check to make sure the file is there. I will tell you to make several copies of the original diffuse you are working with because you will mess up (ex. accidently save over your original I know I did).

Untitled-6

You can close the mod maker if you like but we will be using it later(leaving it open will save time and you having to find the texture again). Now open your photoshop program. Go to open and navigate to where you saved your file. When you open it in Photoshop CC 2014 you will be asked if you want to if you want to load default size or another size choose 8-bit. There are also check boxes for mip-maps leave those empty.

Untitled-7

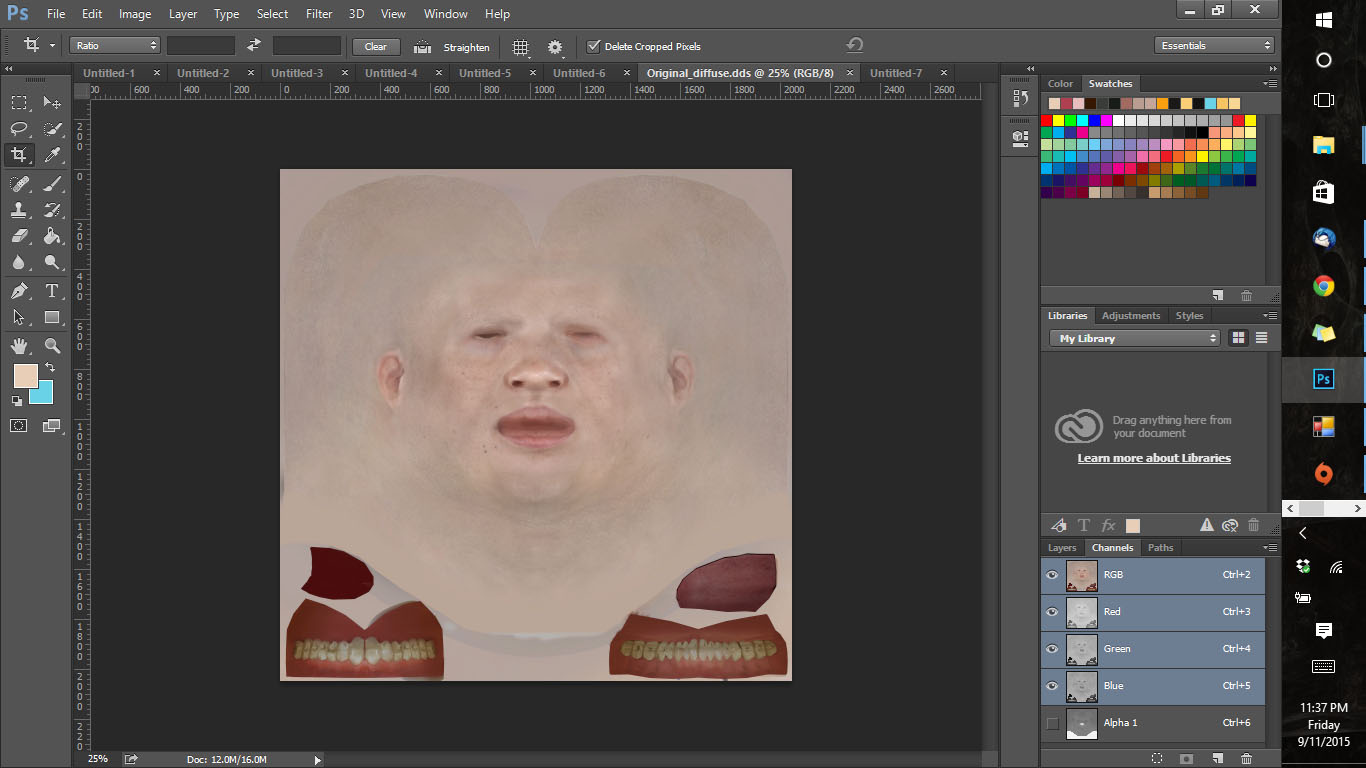
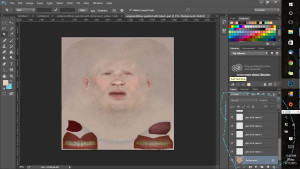
Now you have your diffuse loaded into photoshop.

Untitled-8

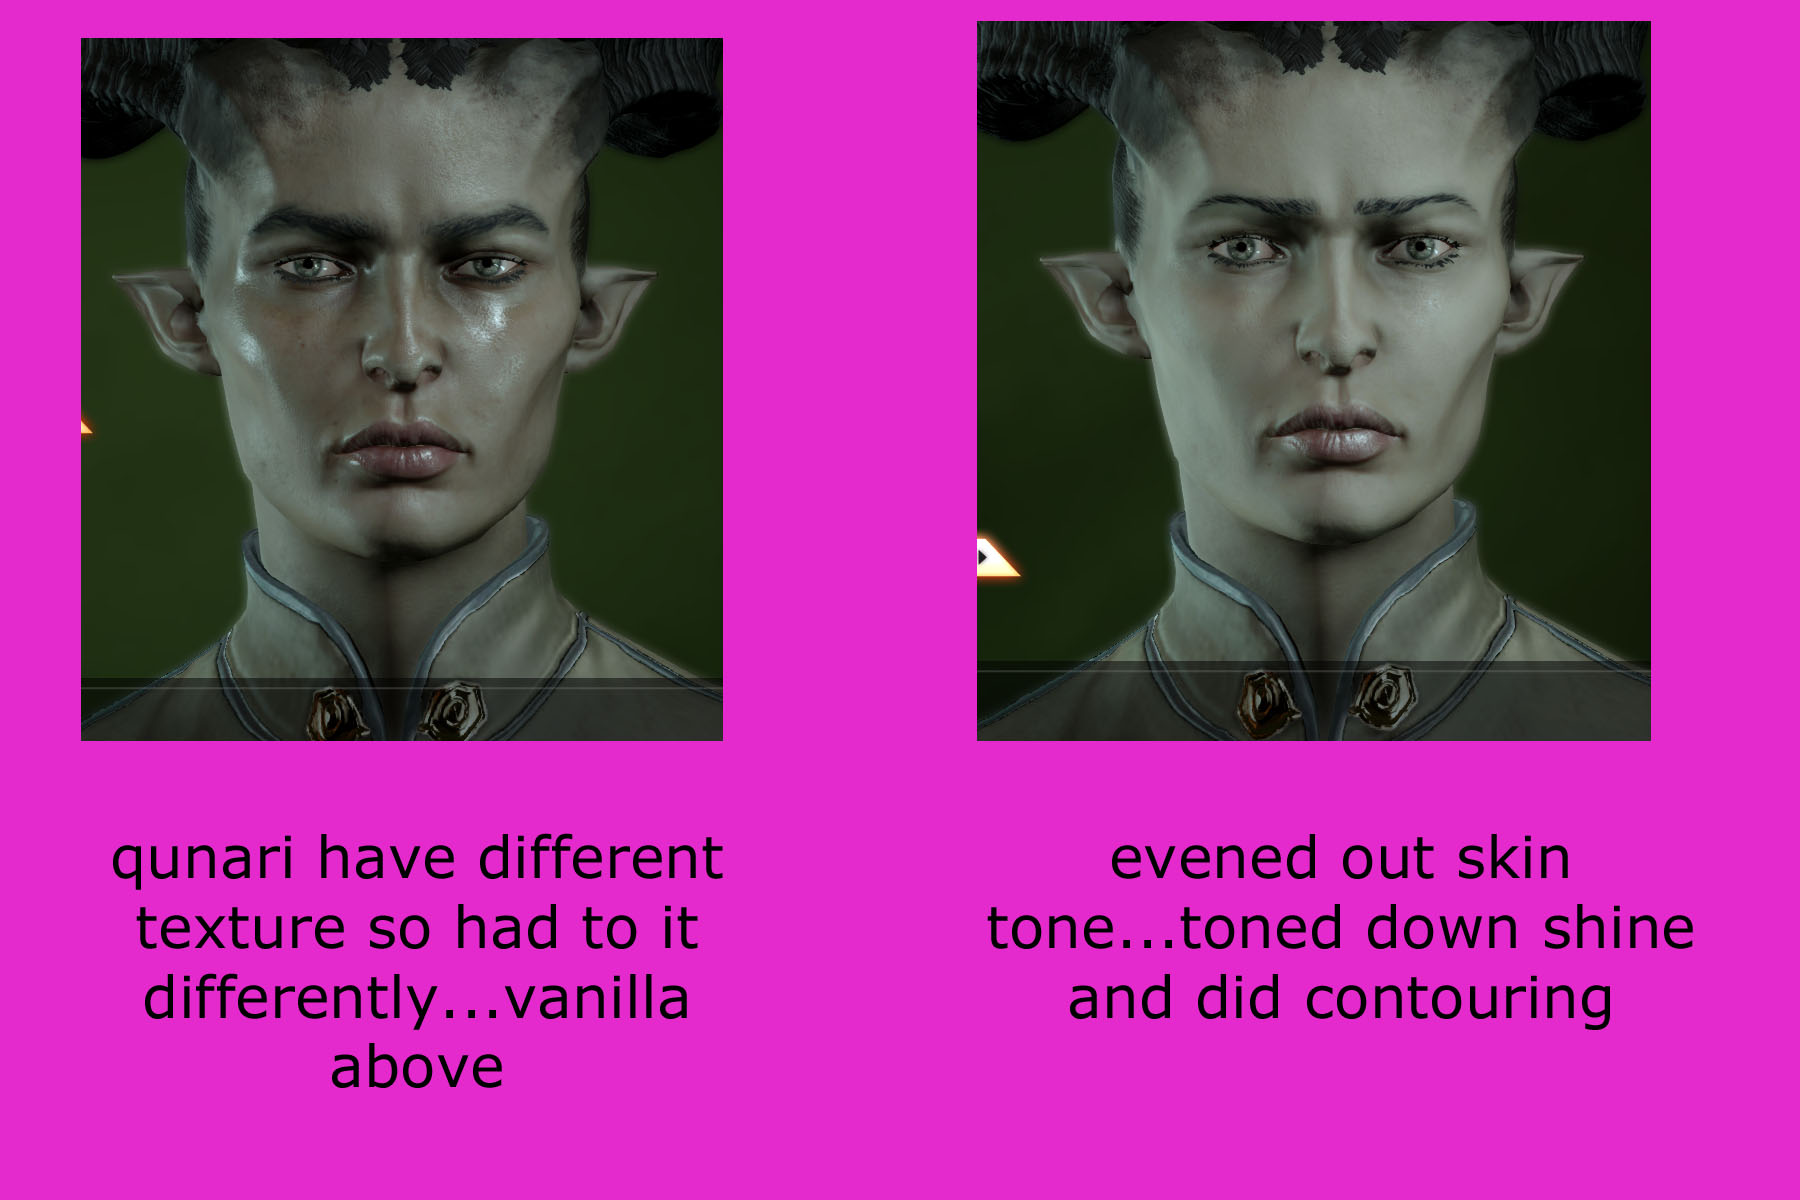
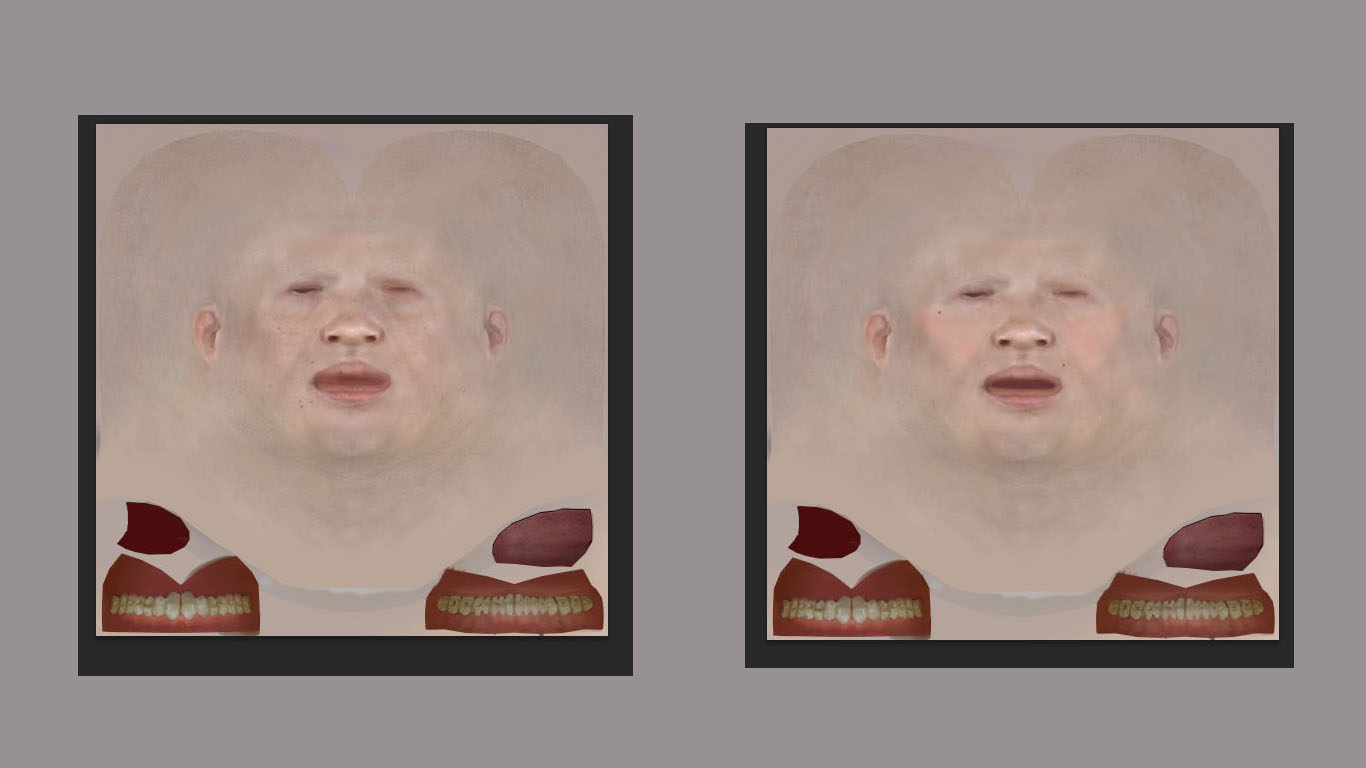
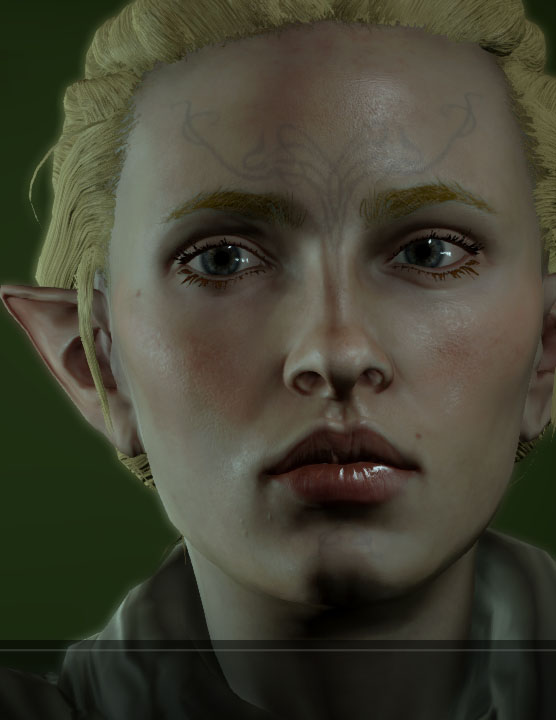
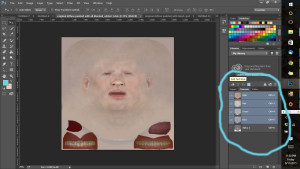
Now go ahead and make any changes you want. Using the air brush, blur and healing tools are good for creating a soft look. Use lots of layers because you can delete a layer or change it. When adding a layer I always use the soft light option. You will notice I have several layers. I changed the blush took away the moles around the mouth area and added moles above the mouth on the right and under the left eye.

Untitled-9

Here is a picture showing the original and modified files.

Untitled-18

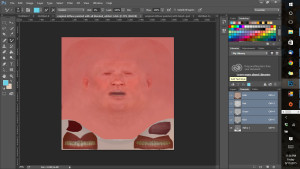
It is perfectly fine to save a work in progress as you go as the default .psd file. Once you are happy with your work merge the image. This will combine your image into one. Thankfully I had some experience with this part when working with photos and website stuff. I purposely exaggerated the cheeks in this diffuse because I wanted the cheeks to be prominent. Once you have merged the image you want to save it. But before we do that we need to look at the channels.

Untitled-10

Note the alpha channel is not visible…I found that this needs to be clicked to make it visible. If you don’t click this when you get to the Character Creator(CC), you will not be able to use the skin tints that are available. Clicking it will make your diffuse look red. Don’t let this scare you it’s fine. Upon futher review I found this step is unnecessary but I still do it now out of habit.

Untitled-11

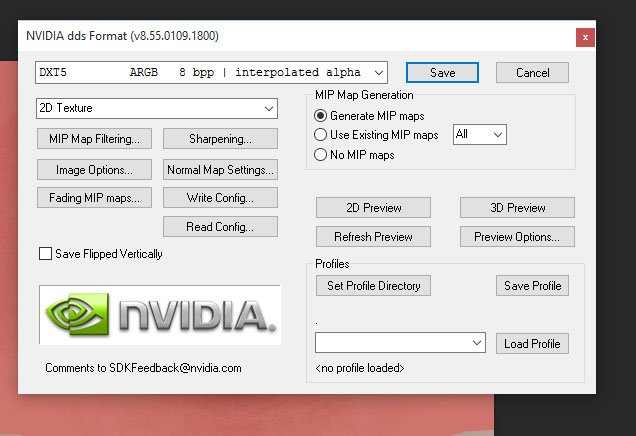
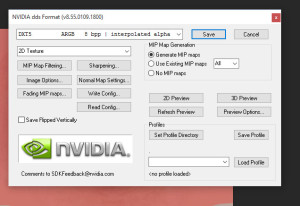
Now we can click “save as.” You will want to pick D3D/DDS, chose a name for the file and pick the alpha option. After clicking that another option screen will come up. You will now need to click the generate mip-maps option and save as DXT5 as shown below.  Then click save…I don’t mess with any other options.

Untitled-13

Once it is saved we will need to open the mod maker in the DAItools suite (or if you left it open just move to that program). We will need to be working with the same texture we imported (if you closed the mod maker the path is data->da3->actors->baseheads->humanfemale-textures).

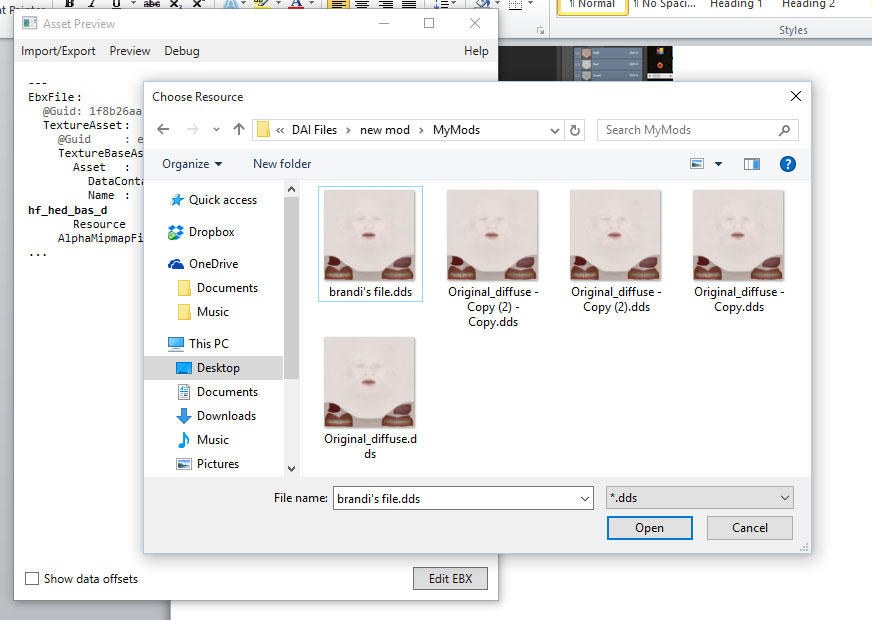
Next click on the same texture asset hf_hed_bas_d. Click on the import/export option. This time when the drop box appears click import.This time box will open prompting you to locate your modified .dds file.

Untitled-14


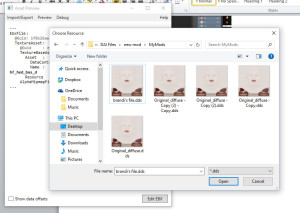
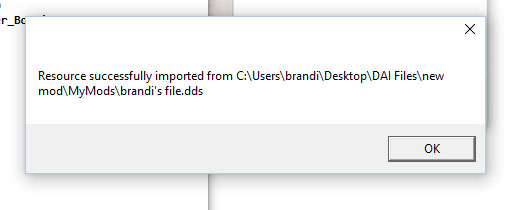
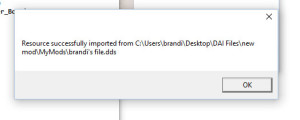
Once you locate it click open and you should get a screen verification letting you know it uploaded.

Untitled-15

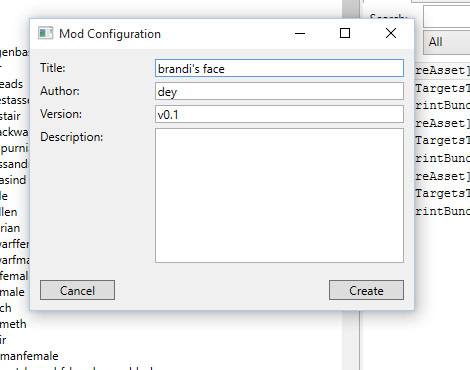
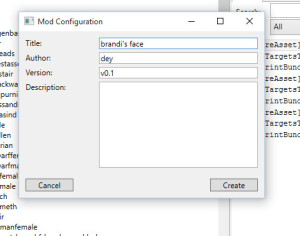
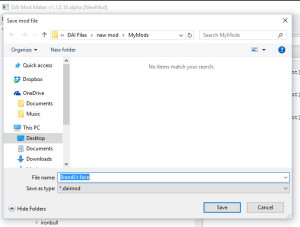
Now we need to create the .daimod file to put into the Mod Manager. To do this we go to file and click save as. Name your mod and add any description  you like before clicking create.  I’m being lazy so I didn’t add one.

Untitled-16

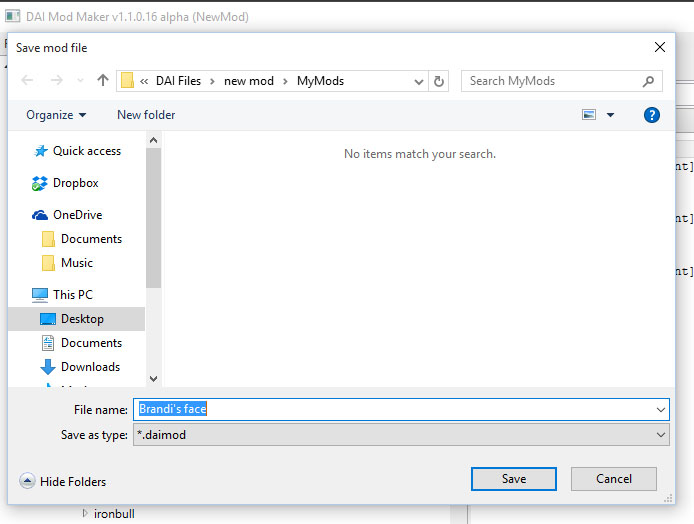
Another screen will pop up prompting you to name the .daimod file itself and to choose a location for it. I usually name it the same and put in the folder with the original file I was working with.

Untitled-17

Once it is saved you can close the Mod Maker.  You will need to add your new mod file to the file you use to hold your mods for the Mod Manager. I’m not going to explain how to use the Mod Manager. There are wonderful tutorials for that already.

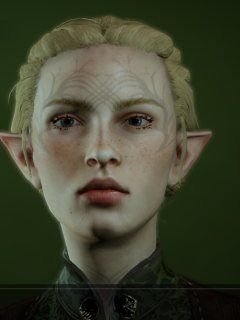
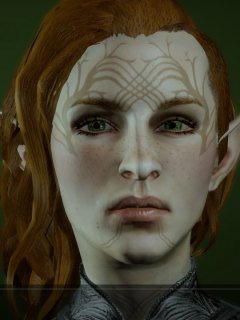
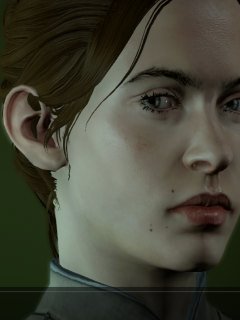
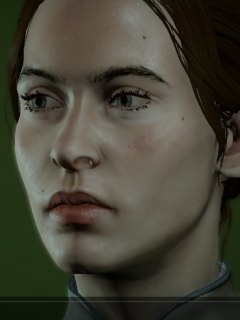
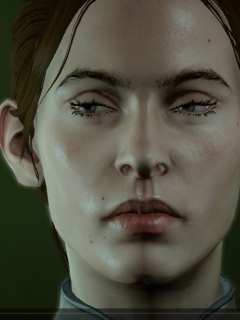
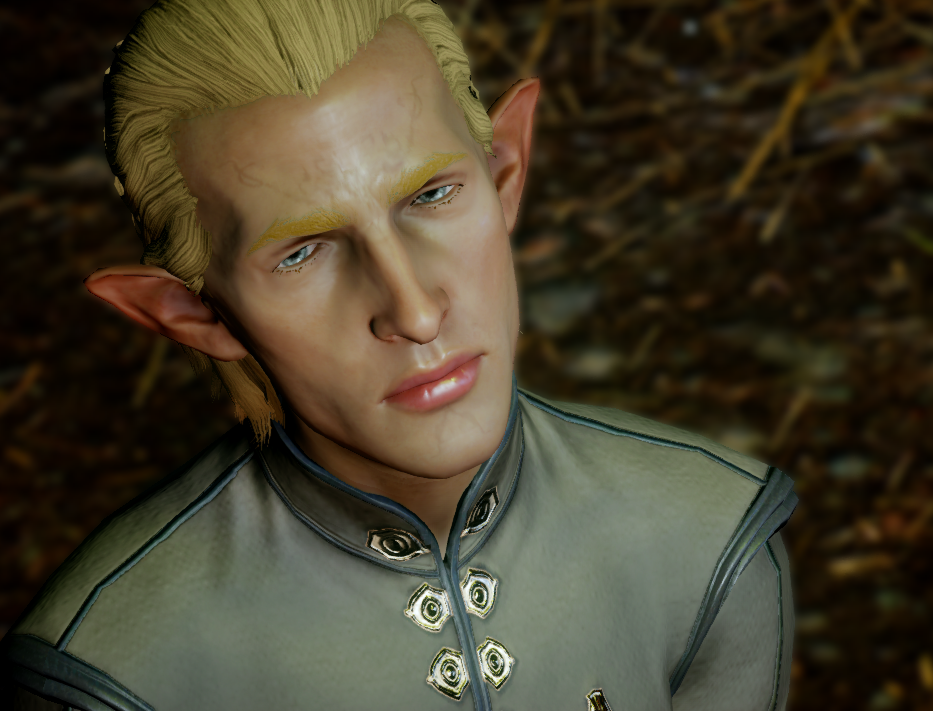
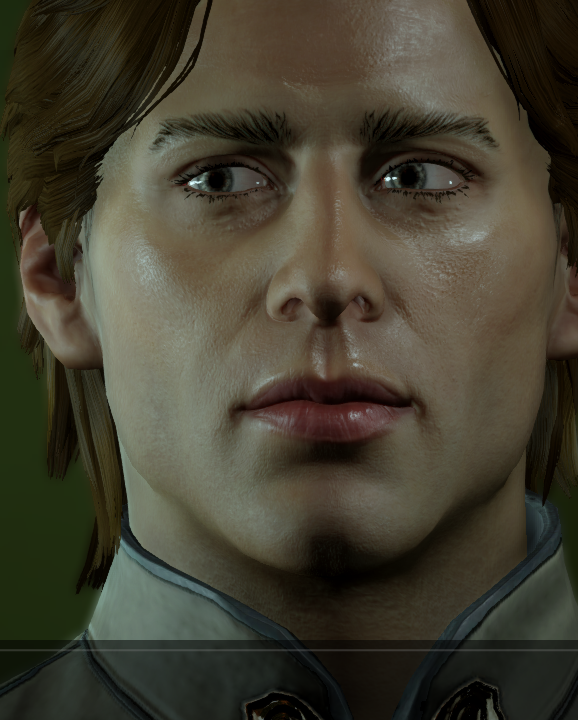
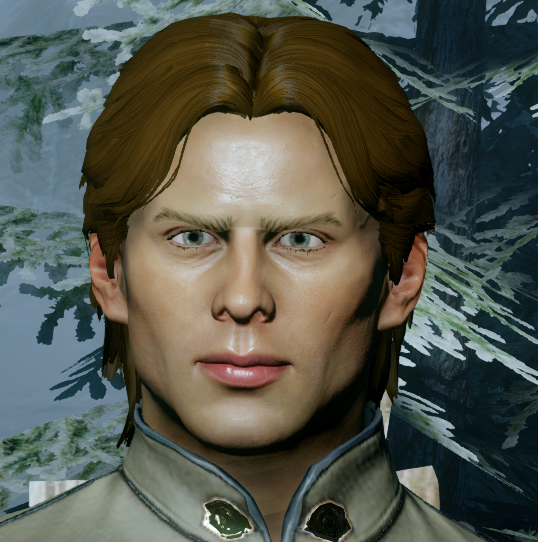
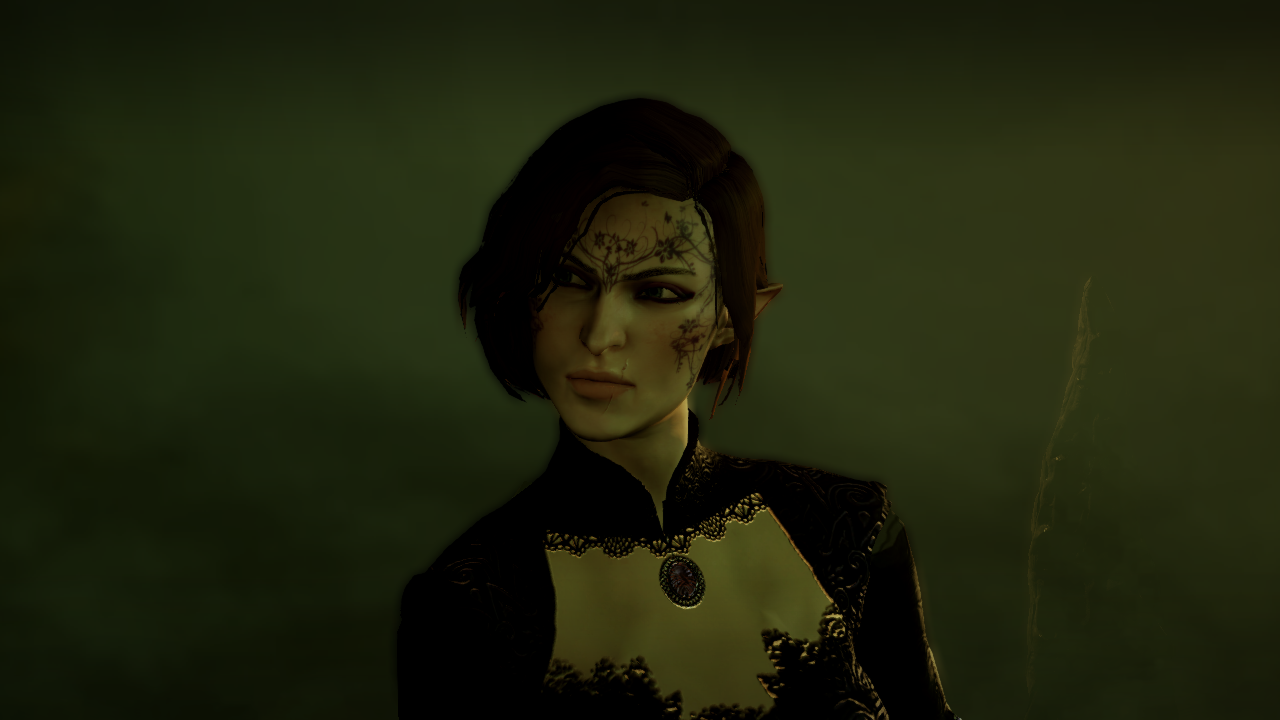
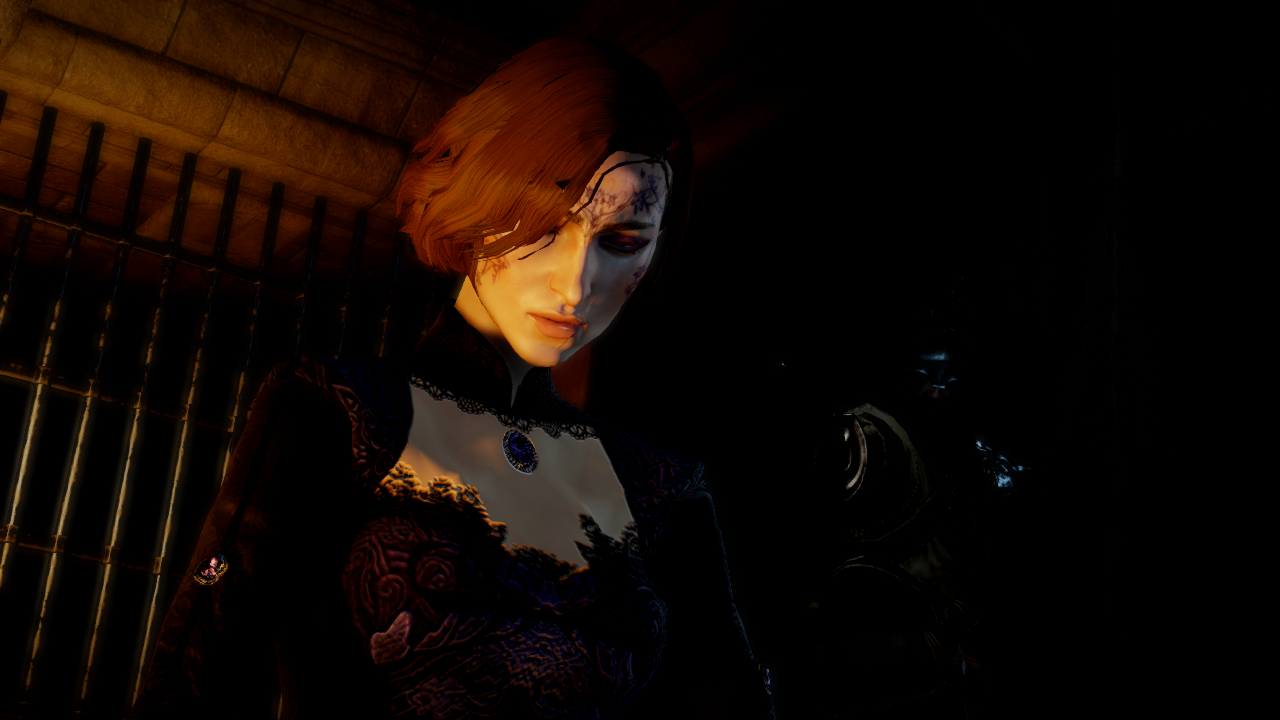
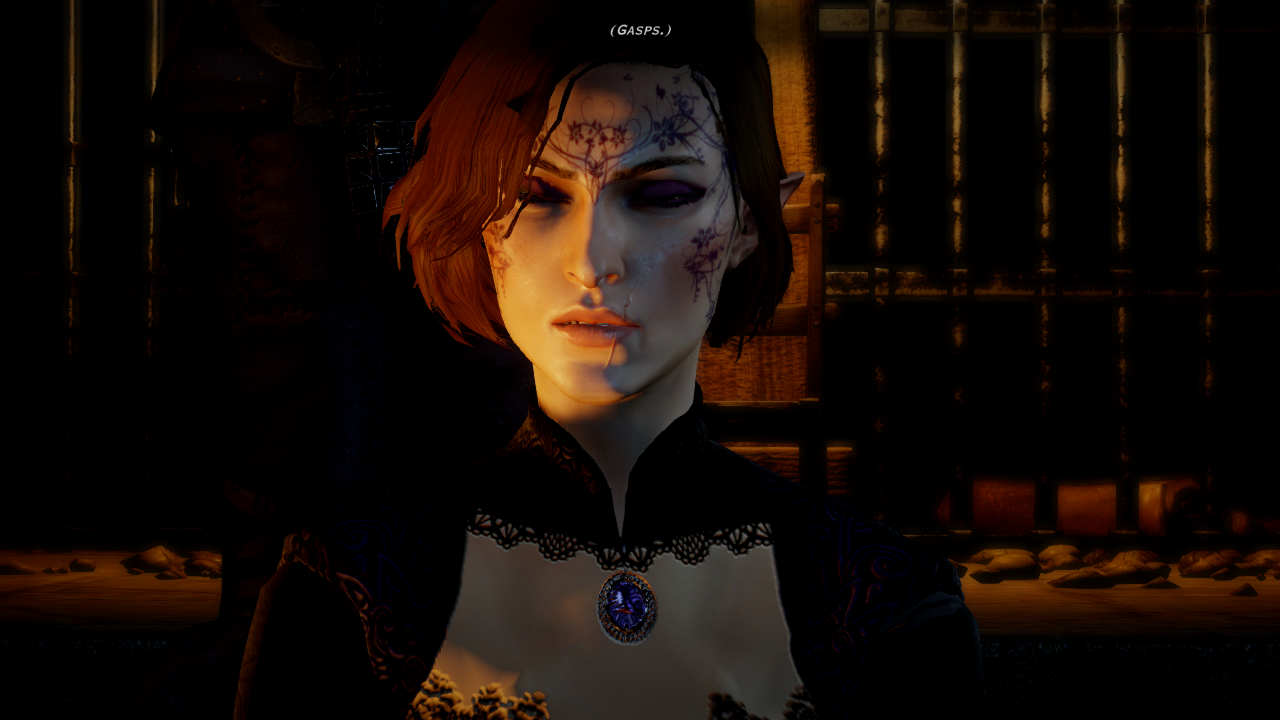
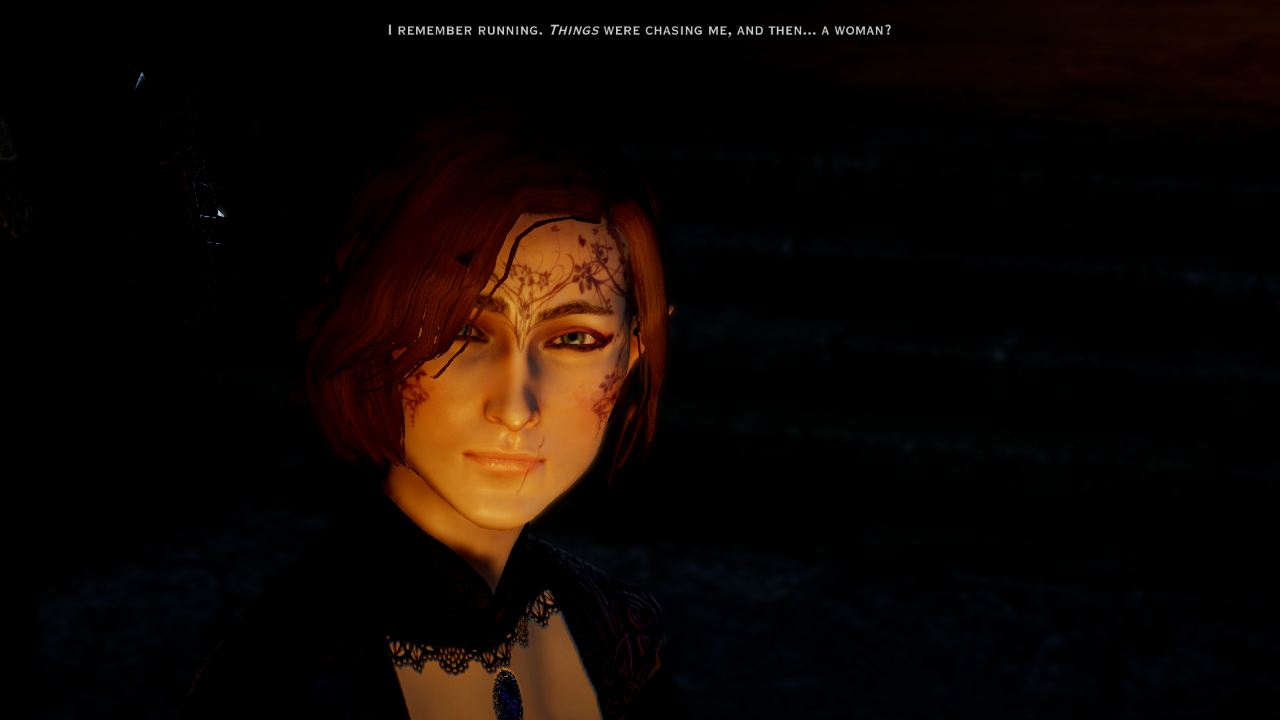
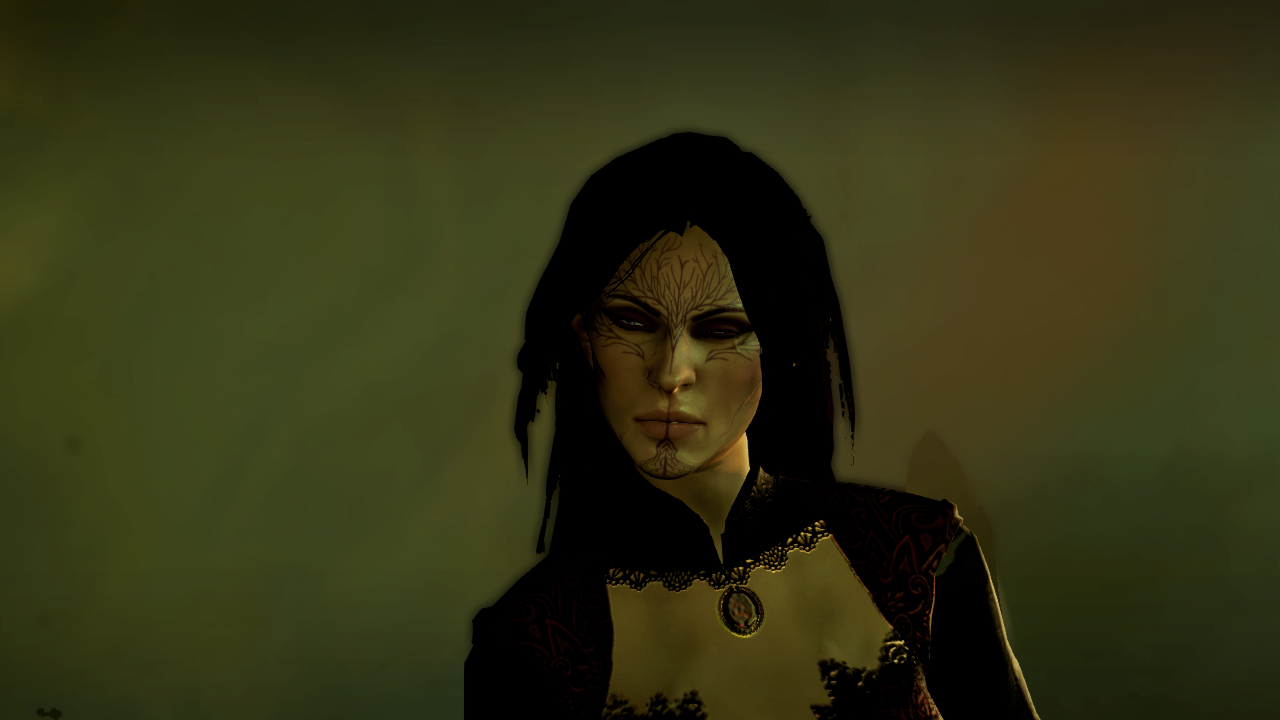
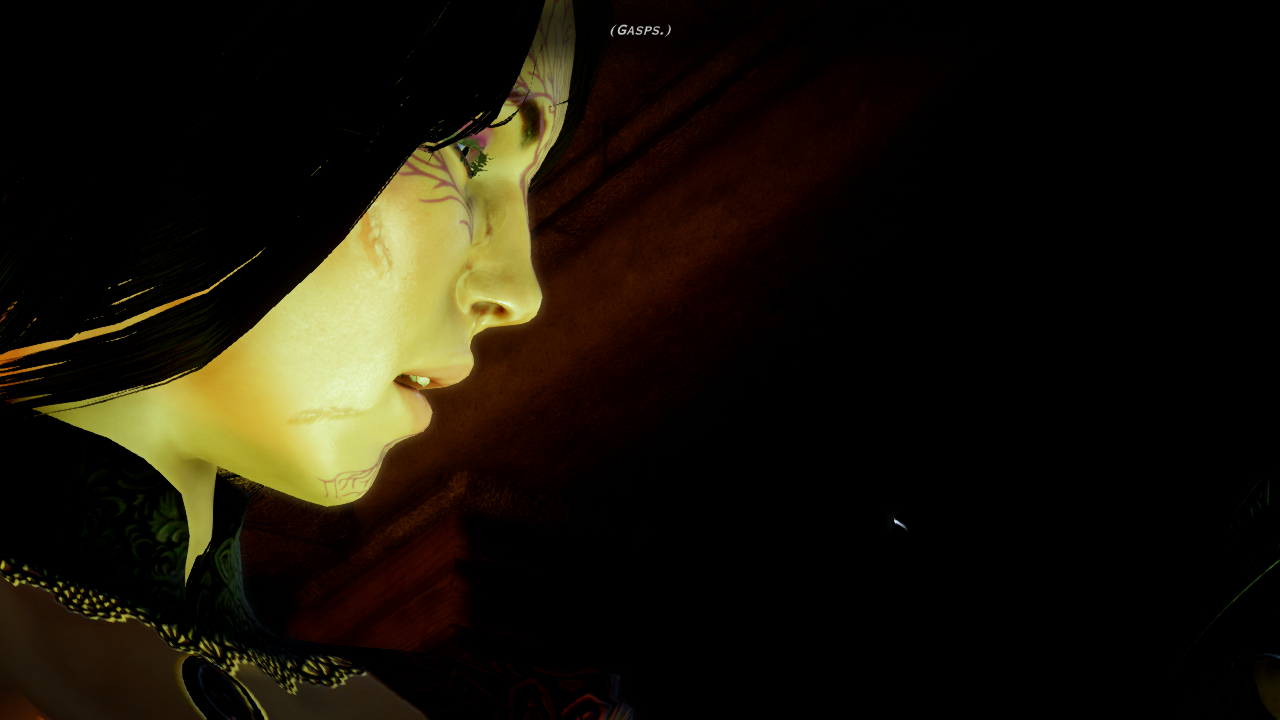
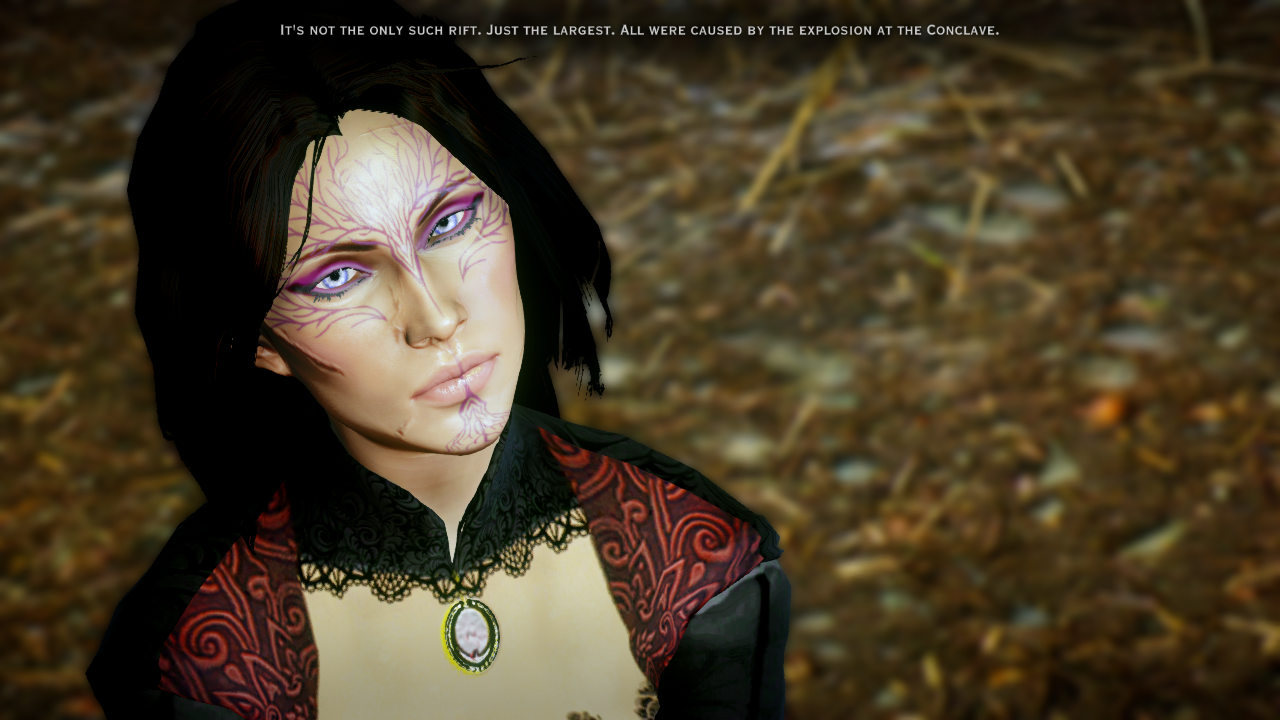
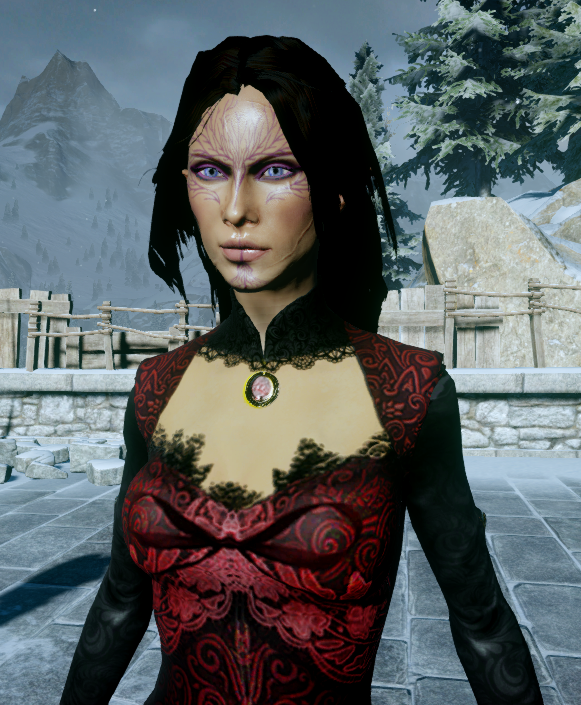
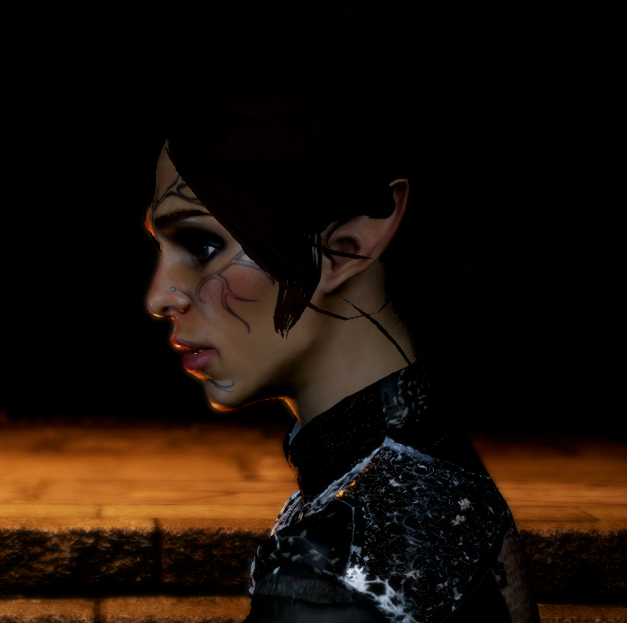
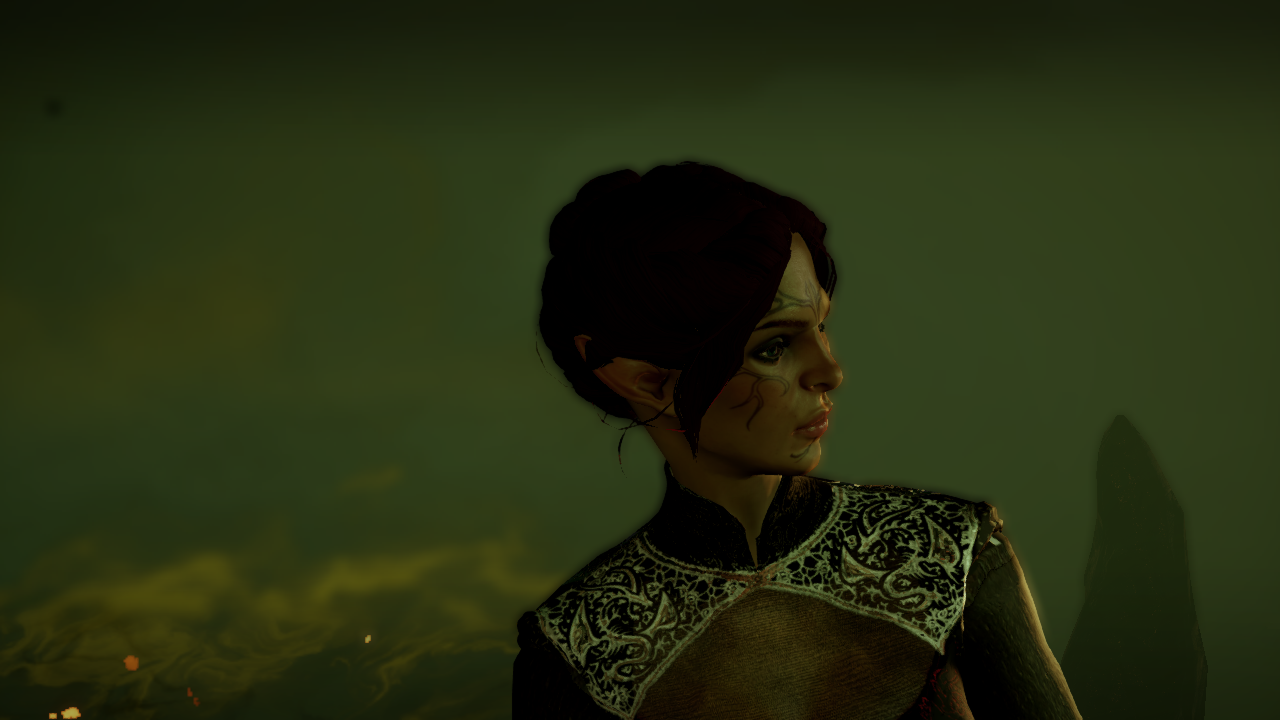
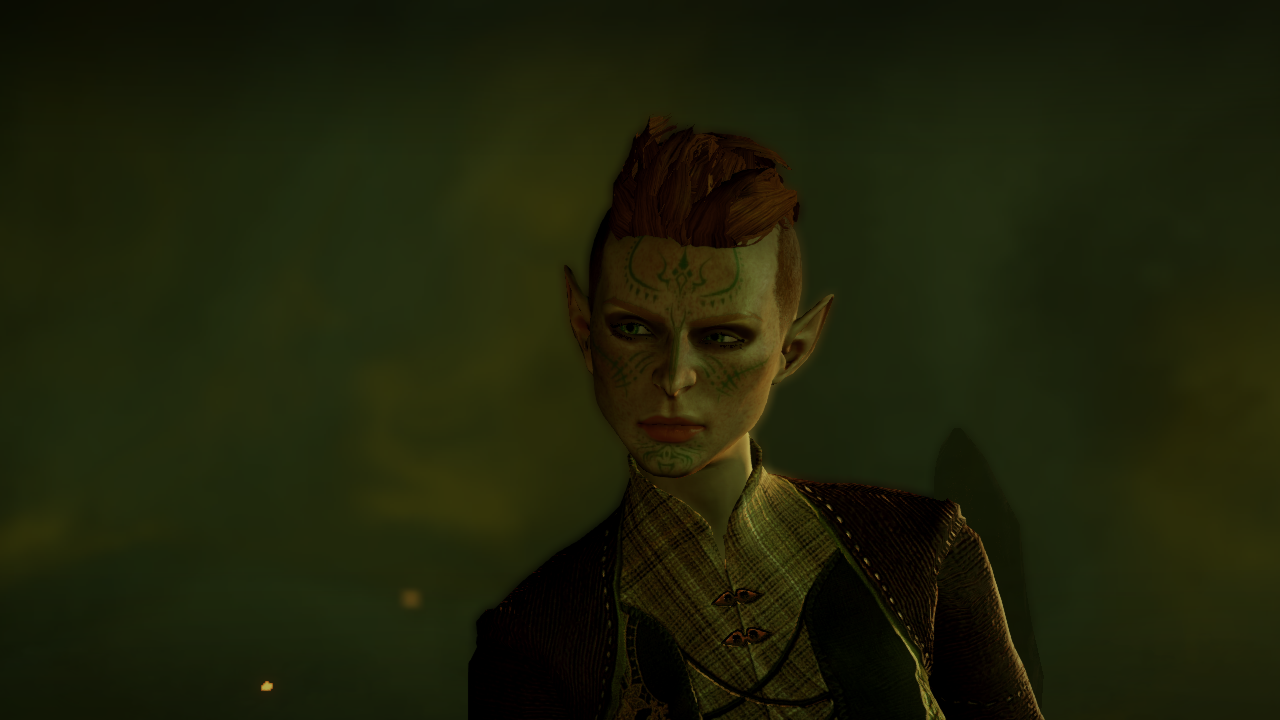
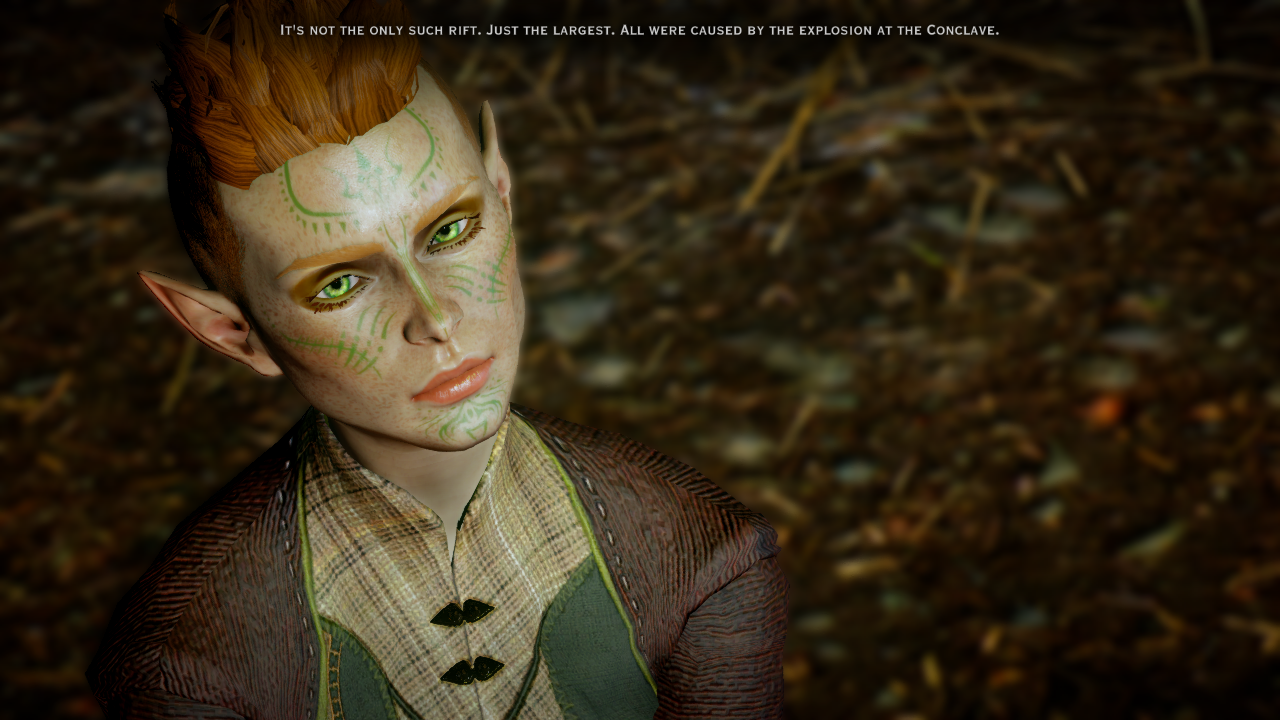
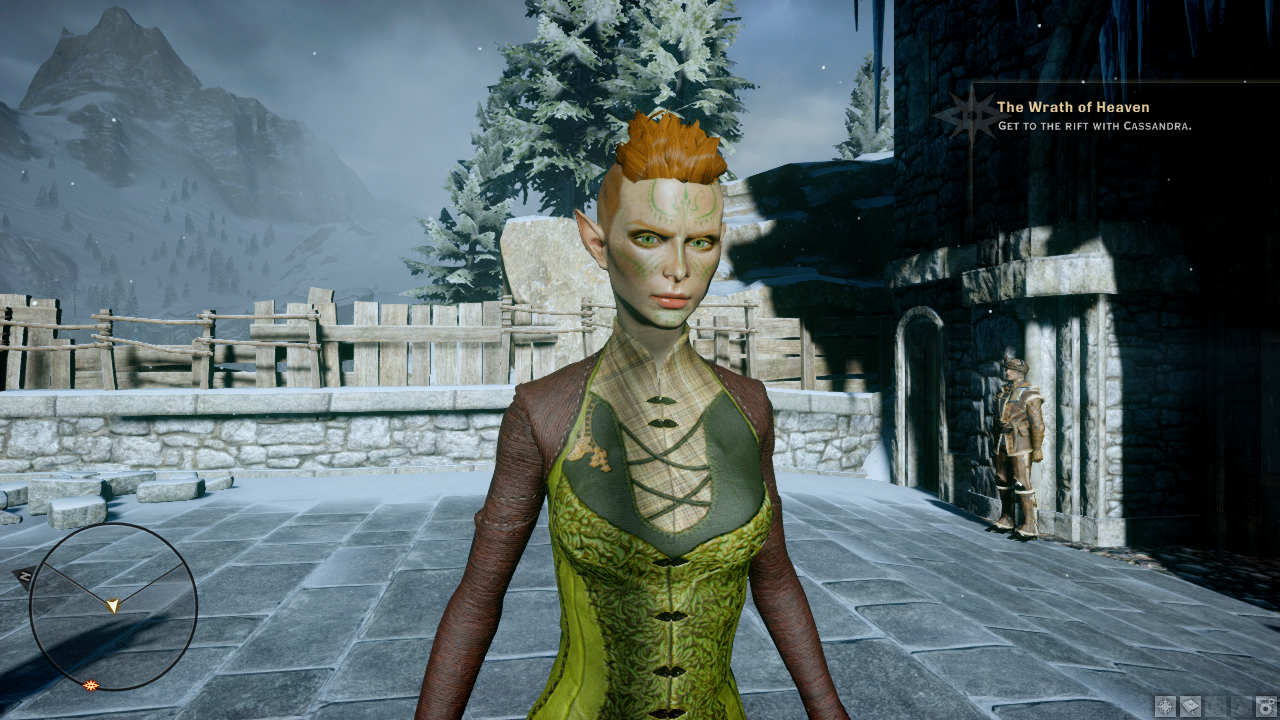
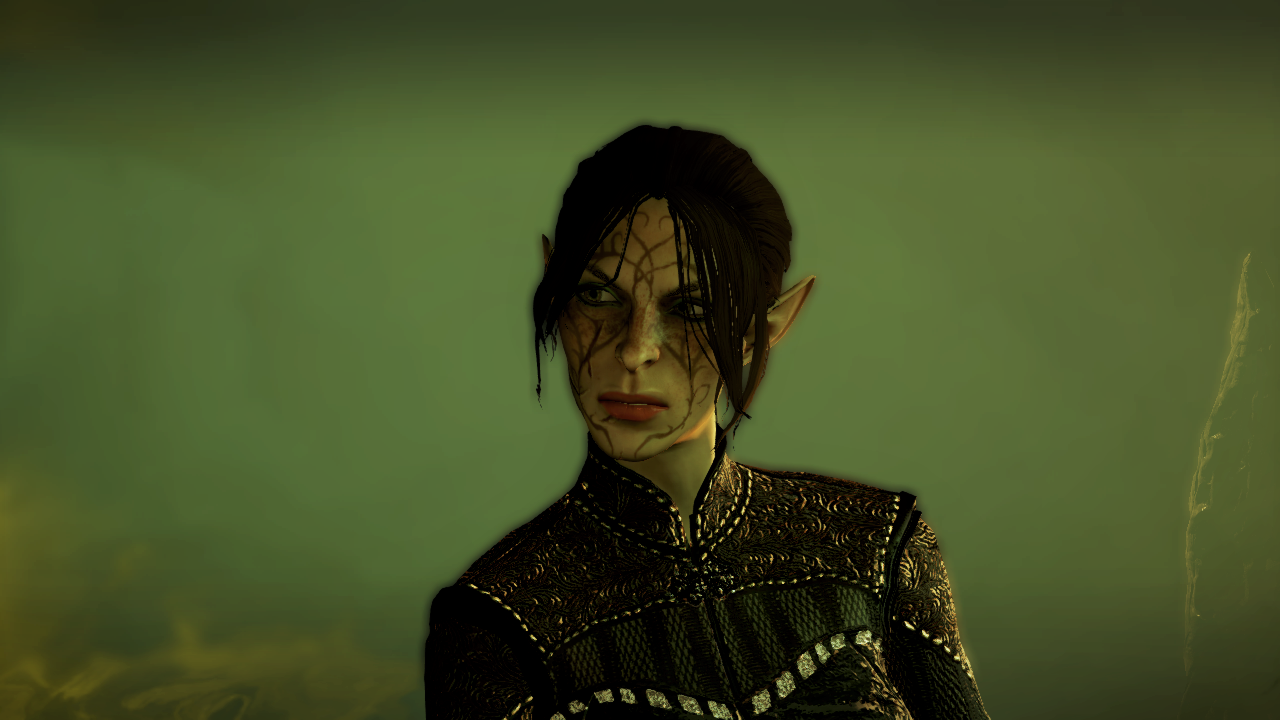
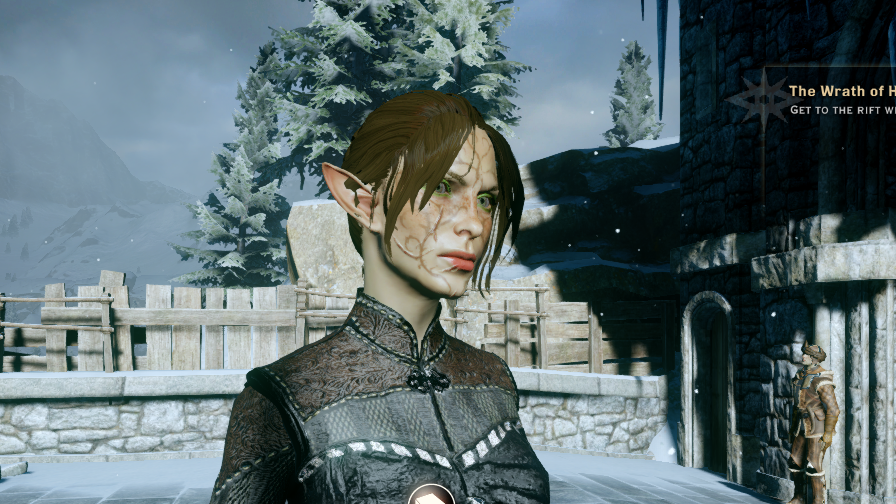
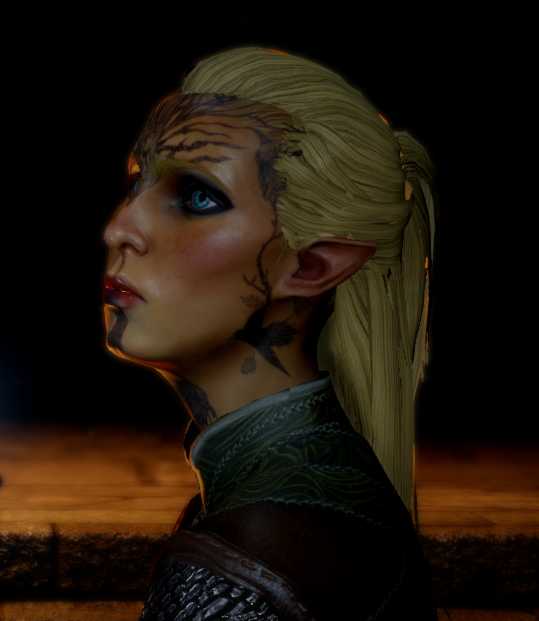
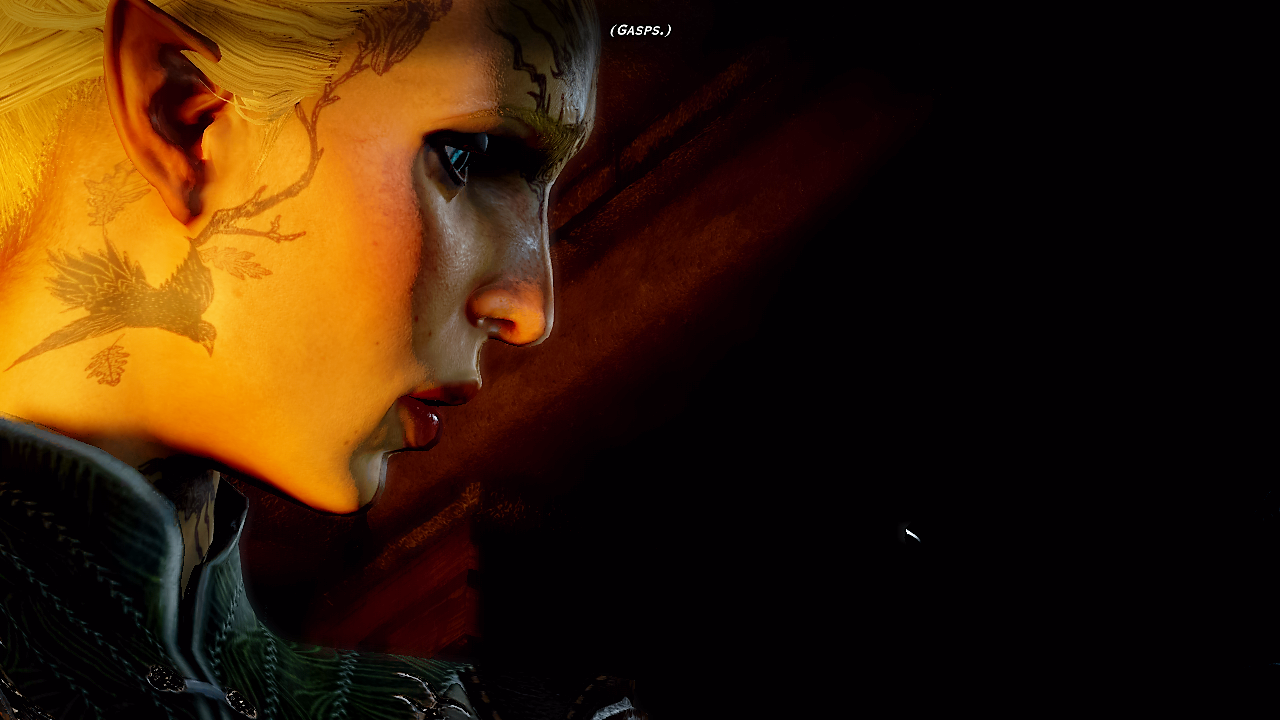
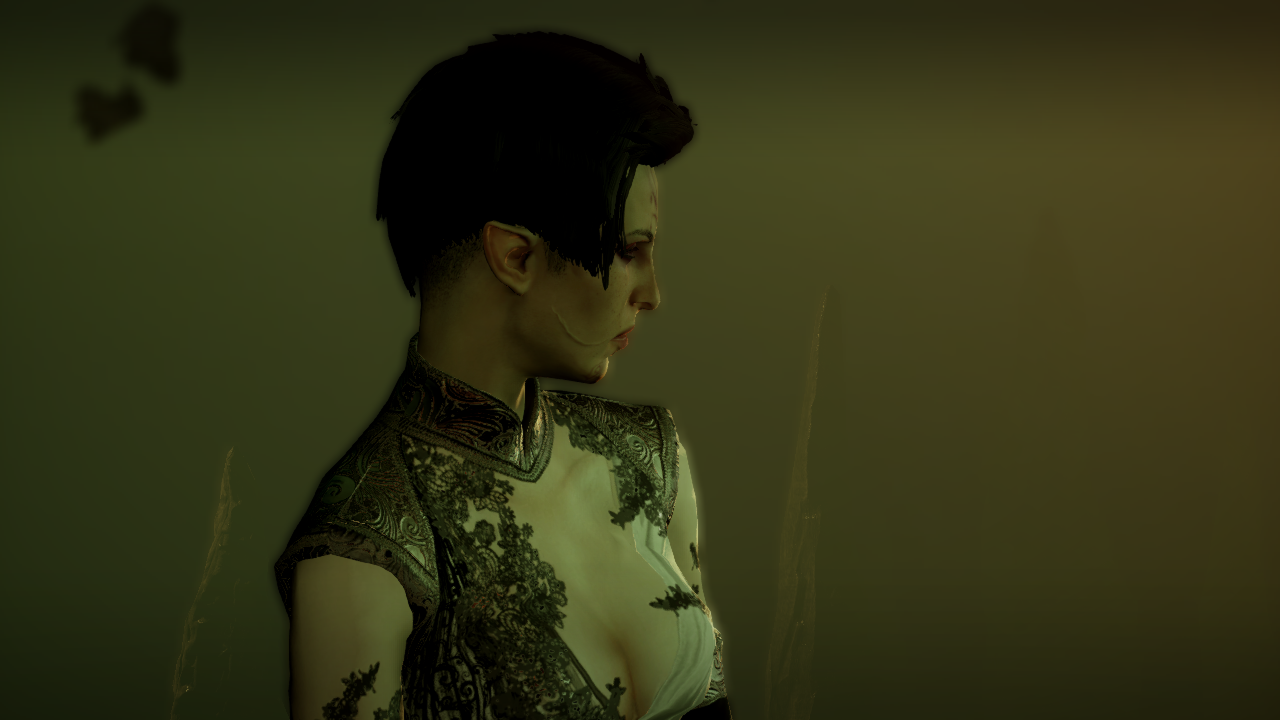
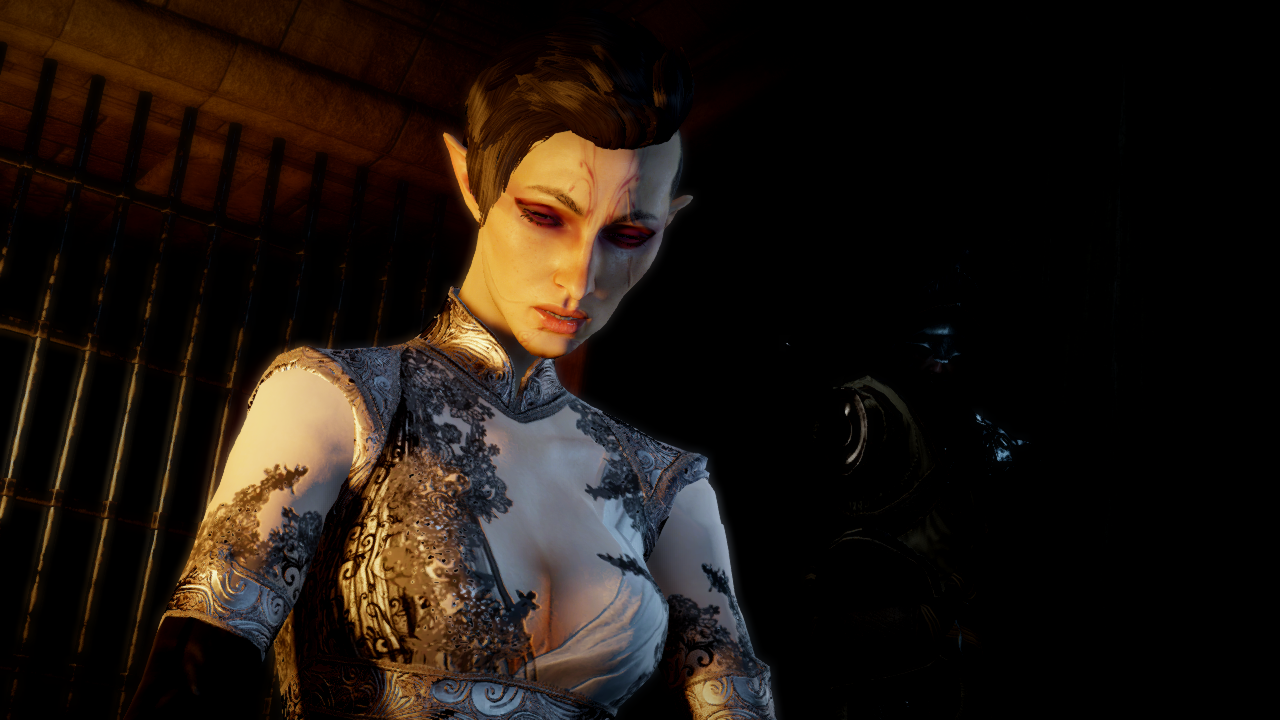
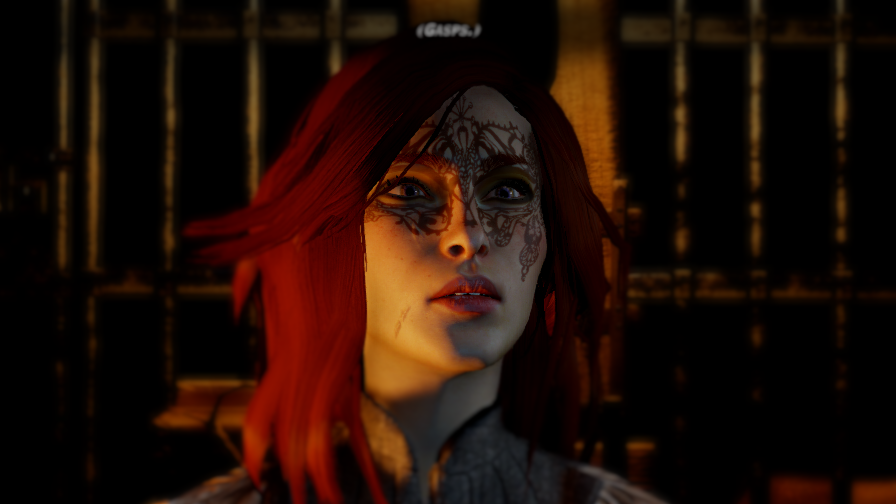
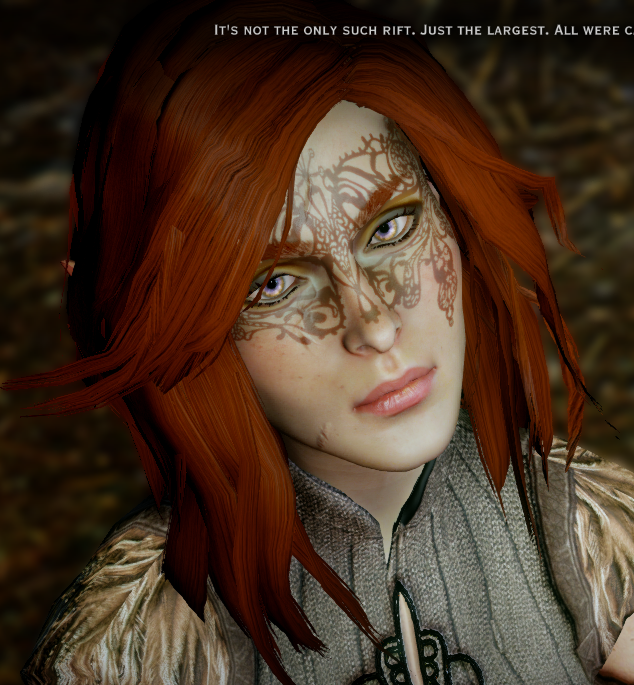
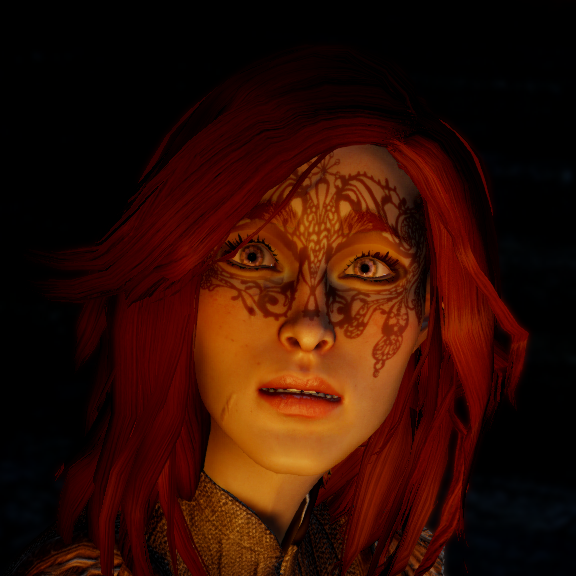
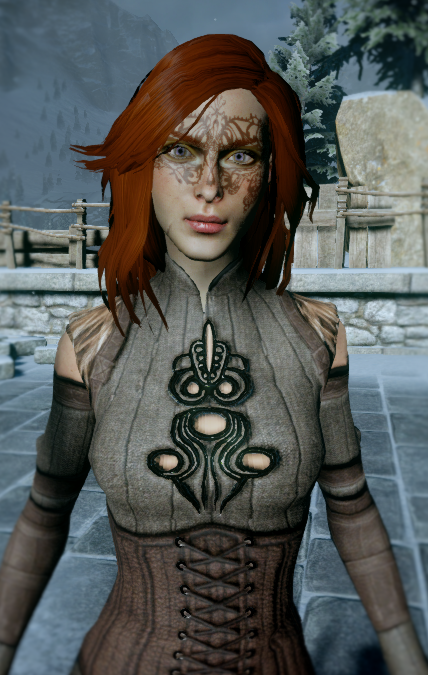
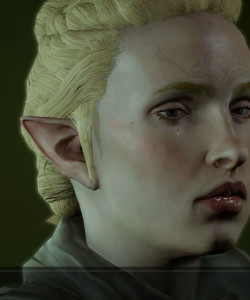
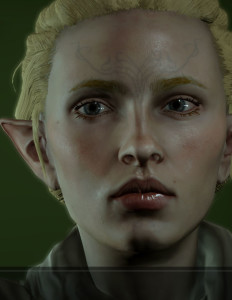
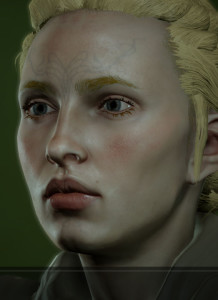
Here are a few shots of my face mod in the CC. I know my changes are subtle I need to play with darker colors and see how it affects it in game.

ScreenshotWin32_0006_Final

ScreenshotWin32_0005_Final

ScreenshotWin32_0004_Final


Some other helpful links.

More information on using the mod maker: http://daitools.freeforums.org/texture-2d-tutorials-f31.html

For more information on the mod manager: http://daitools.freeforums.org/modmanager-f24.html

Tags: , ,

Deyaneria on September 1st, 2015

Someone Asked me for this: So I figured I’d do quick write-up.

How to properly give credit to modders…my way of making sure that people get the recognition they deserve.

I wrote this for all us non-mod creators out there who just love to use (mix and match) mods together.

First and foremost, when you download a mod make sure you know the name of the mod and the creator (sometimes when a mod is placed in different place the names may vary slightly). If I find it on nexus I use that name, if only on a modder’s blog I use that name. I usually name the file by that name and add the mod creator to the name of the file (click on images to see larger).

for mod users

In addition to that because it’s always good to let people know where they can find a particular mod if they wish to recreate a look I also have a running excel file. It lists by category the name of the mod, author, website, availability and some extra notes can be added for example if a hairstyle is one for certain races or sexes.

excel for mod users

When I create a face I create a word doc and put each face in its own folder.  I usually name them something like testface #whatever . As I load mods in the mod manager I copy the mod name from the folder and put it right into the word doc.


Then once I create my modded face (and take my screenshots of course).  I go to my excel document and put the links in as hyperlinks for the appropriate mod.


I’m also lazy and there are so many hair mods out (I love having a variety). I have a running word doc for that too. It shows the default hair and the mods available for that default. I included pictures to help me pick the hairstyle I want to put in the CC.  This way I can load several hairstyles at one time and not have to keep jumping in and out of the game to redo the modmanager. Don’t ever use these pictures for anything than your own use without giving credit to the mod creator.

running hair list sample


That’s pretty much it. I know it seems like a bit of work but once you have your docs in place it’s easy. Every time I download a new mod I just open the stuff up and place it in its designated place. Easy-Peasy.

Tags:

Deyaneria on August 16th, 2015

I can’t seem to stop. I find creating beautiful faces a relaxing activity but I have decided to do 10 of each race and gender. As at some point, I would like to PLAY THE GAME (snicker).

Enjoy!!!

Introducing Isiss I love the wavy bob and feminine floral tattoo

ScreenshotWin32_27940_Final ScreenshotWin32_27942_Final ScreenshotWin32_27945_Final ScreenshotWin32_27950_Final ScreenshotWin32_27954_Final ScreenshotWin32_27961_Final

Sliders and mod list here.

Introducing Shycha… she is wearing the red version of the Isiss’ outfit and I tweaked her hair a bit with the DAI hair color utility.

ScreenshotWin32_27942_Final ScreenshotWin32_27944_Final ScreenshotWin32_27945_Final ScreenshotWin32_27951_Final ScreenshotWin32_27957_Final

Sliders and mod list here.

Tags: , ,

Deyaneria on August 14th, 2015

This new hair mod and a new tattoo mod came out and after seeing them and squealing like boy-band fangirl. I knew I had to try them out .

Introducing Athelanna:

ScreenshotWin32_28030_Final ScreenshotWin32_28036_Final ScreenshotWin32_28044_Final ScreenshotWin32_28027_Final ScreenshotWin32_28021_Final

She has a killer nose stud and awesome features love the new hair and tattoo.

mods used:

Invisible starting armor by GrimmPrince @ Nexus

Custom Body Models EF body thicker arms by Aravasia @ Nexus

Custom Body Models ef body curvy with reduced backside and larger thighs by Aravasia @ Nexus

SK Hair Re-texture Realistic hair by skara888 / Skaramoosh

Improved Lashes by xstephyg (has 5 different styles I chose longest fullest lashes)

Hairstyle by valoa-kohti (Female Elf)

Settrah brows older alternate version by settrah

Modern retexture by veylia

Myfanwy eyes by mrsalenko / AppleofEden

Nose stud by xstephyg

Lore Tattoos by skara888 / Skaramoosh

Sliders and mod list:

https://www.dropbox.com/s/crgst4sxvbg9jx9/Athelanna.zip?dl=0

Tags: , ,

Deyaneria on August 13th, 2015

I  will eventually move onto other genders. But for now I’m happy making Dalish Elf females.


Introducing Loirqua

ScreenshotWin32_27941_Final ScreenshotWin32_27944_Final ScreenshotWin32_27950_Final ScreenshotWin32_27955_Final ScreenshotWin32_27959_Final


You can find her sliders and mod list here:

https://www.dropbox.com/s/wwetg9wz76ytthj/Loirqua.zip?dl=0

Tags: , , , ,

Deyaneria on August 12th, 2015

Here are a few more faces will be posting to other forums as well but…well I’m just addicted….

Introducing Aurae:

ScreenshotWin32_27940_Final ScreenshotWin32_27959_Final ScreenshotWin32_27958_FinalSliders and mod files here:

https://www.dropbox.com/s/vjxukx71e4yjtc8/Aurae.zip?dl=0


Introducing Ard’rily

ScreenshotWin32_27951_FinalScreenshotWin32_27947_Final

ScreenshotWin32_27957_Final


Her sliders and mod list are available here:

https://www.dropbox.com/s/4ov9puknvr0t5nk/Ard%27rily.zip?dl=0

Tags: , ,

Deyaneria on August 10th, 2015

Maker! I do have fascination with creating faces… Here’s one of my latest. I picture her as an elven archer.

ScreenshotWin32_27939_Final ScreenshotWin32_27941_Final ScreenshotWin32_27943_Final ScreenshotWin32_27953_FinalHere are sliders and mode list: Dar Missan

Deyaneria on August 7th, 2015

I’ve been crazy busy with school and I never thought I’d get the chance to post again…Ok that was a bit dramatic. But considering I’ve taken 17 classes since last June, starting writing 2 novels for fanfiction and am still playing at modding, it’s sorta true. I am still doing some knitting and fibery stuff just not as often.  Lately my passion has been writing and once again creating awesomesauce faces for the new Dragon Age Inquistion.

Here is latest Elven Female Inquistior I created

closeup in prison closeup outside closeup2 in prison closeup2 outside

if you want to create her for yourself …. use this file sliders it has all instructions and mods used.

Tags: ,